
Personal finances, if managed well, can do wonders for one's financial situation. Many, having realized that, are taking proactive measures to keep their finances in check.
Owing to that, we have seen an emergence of personal finance management apps lately, these have taken the stage with the functionality that they offer.
But, many of the options available out there are proprietary, leading to uncertainty on how one's financial data might be handled, especially, if they sync to the cloud.
Luckily, we have some superb open-source options for the same. With this first look, we will be taking a look at one such option, “Denaro”, a personal finance management app for Linux.
Denaro: Overview ⭐
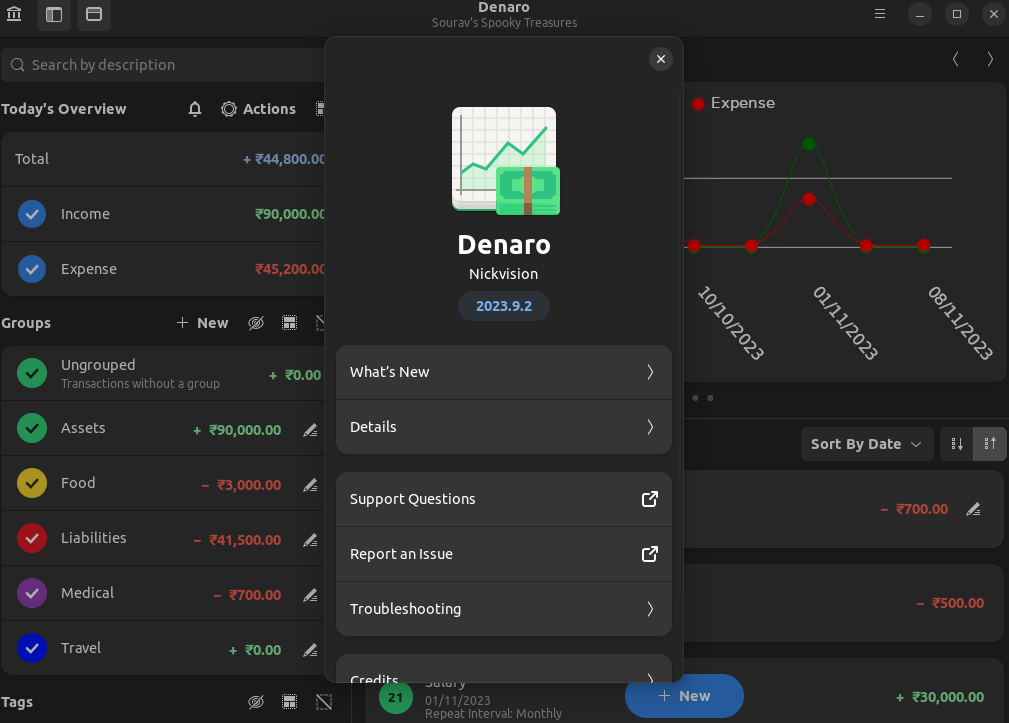
Written in C# programming language , Denaro is a neat little app to manage your finances effortlessly. It is completely open-source, and relies on community contributions for furthering its development.
Some of its key features include:
- Easy Filtering of Transactions
- Import/Export Features
- Multi-Account Support
Initial Impressions 👨💻
I installed Denaro by using the available flatpak package from the Flathub store, it integrated well with my GNOME 42-equipped system.
The app has been designed keeping GNOME in mind and optimized for the default Adwaita theme.
On first launch, I was greeted with a “Good Afternoon!” and options to either create a new account or open an existing one.
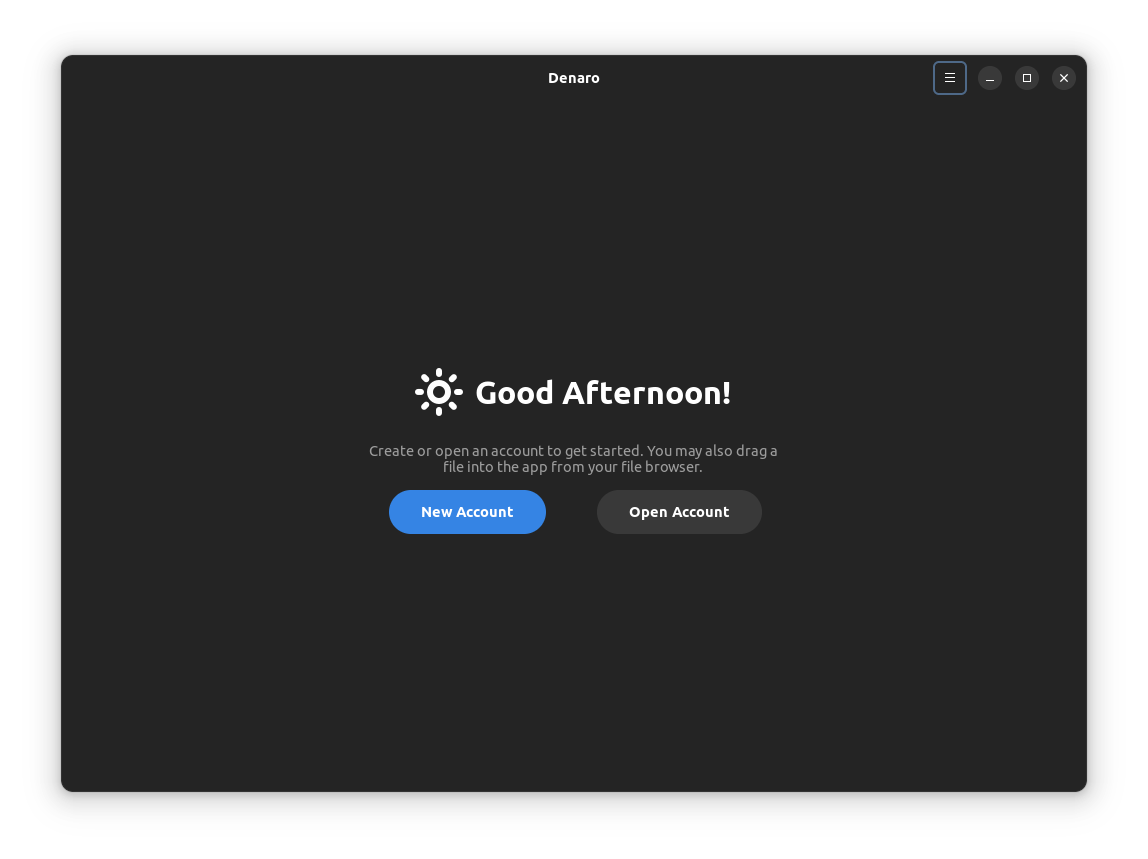
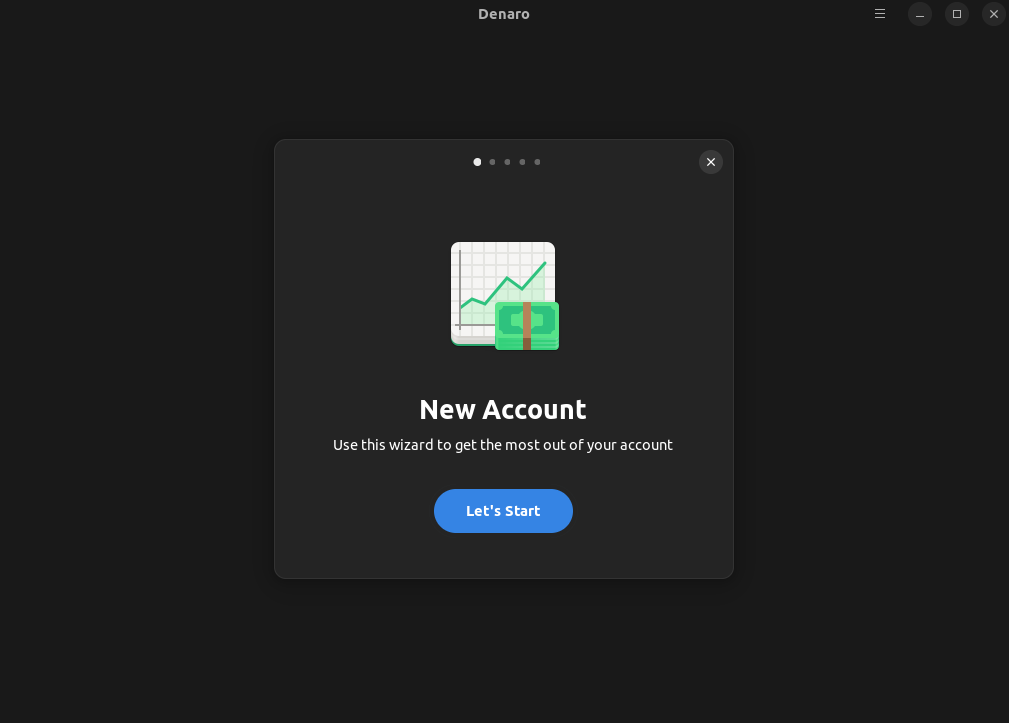
I opted to create a new account, and I was shown the quick-setup wizard.
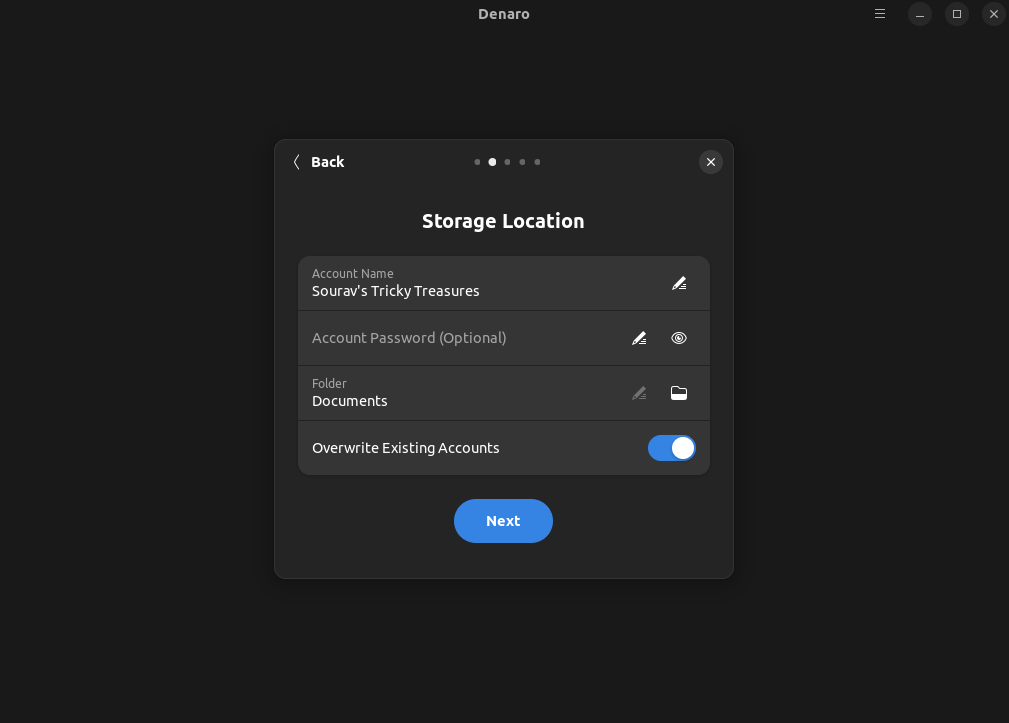
I entered the account name and set the location to “Documents”, I didn't add a password, but it's there if you want to lock the info to your tricky treasures 🧐
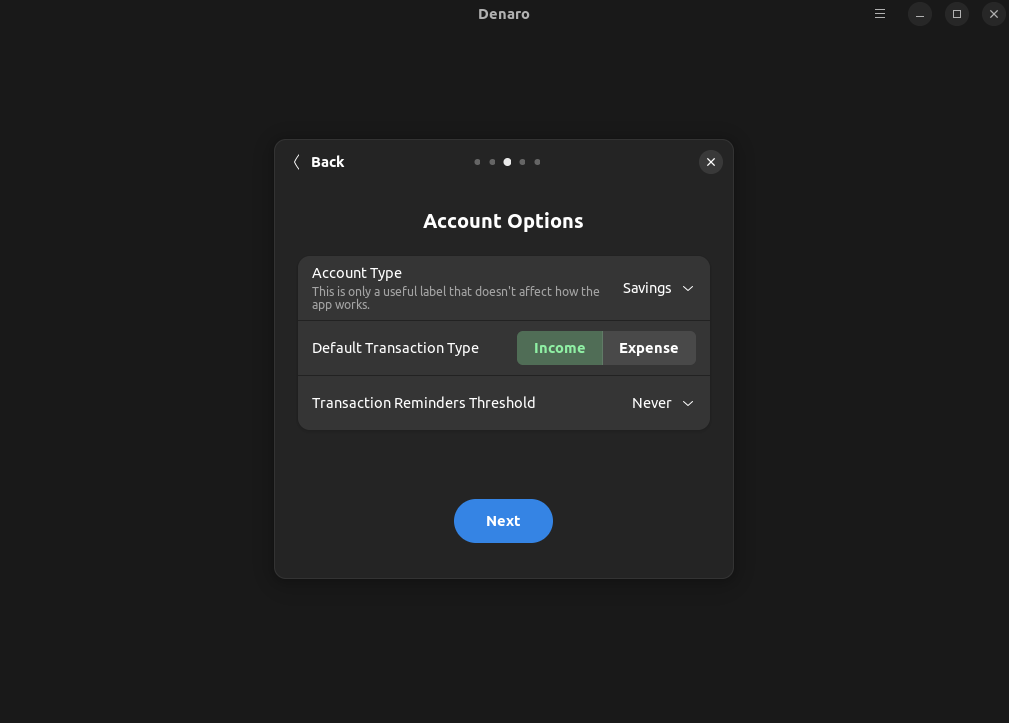
After setting all that, I was able to choose the type of account, I had the options for Checking, Savings and Business, I proceeded with Savings.
I could also set the default transaction type, and set a transaction reminder threshold.
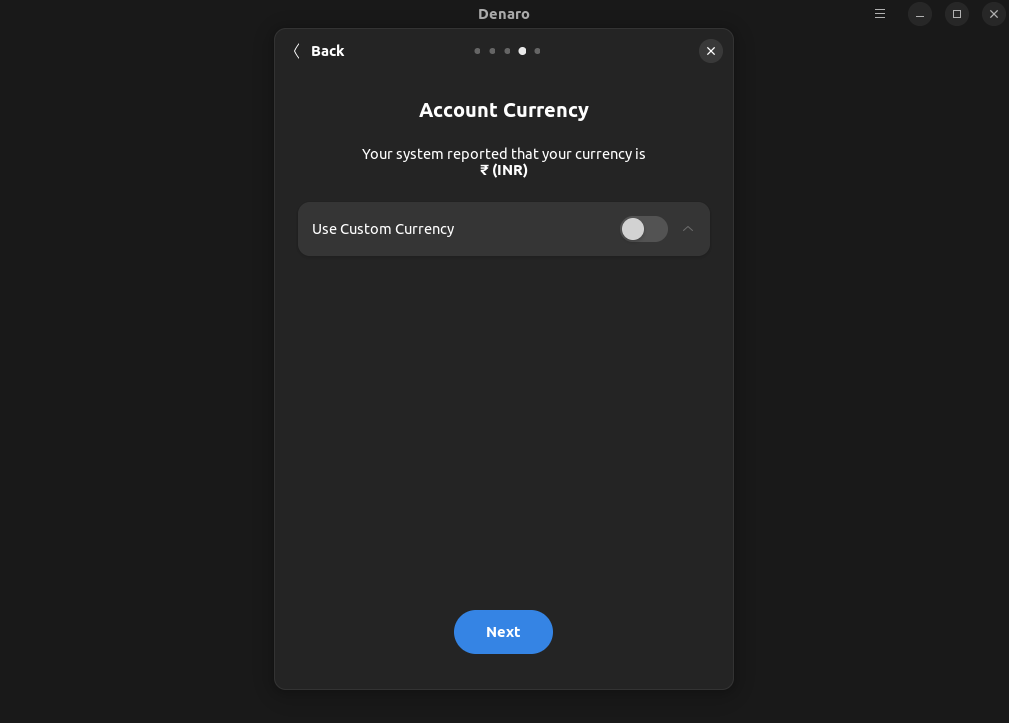
Denaro nicely read the info from my system and automatically set the currency to ₹ for the Indian Rupee (INR).
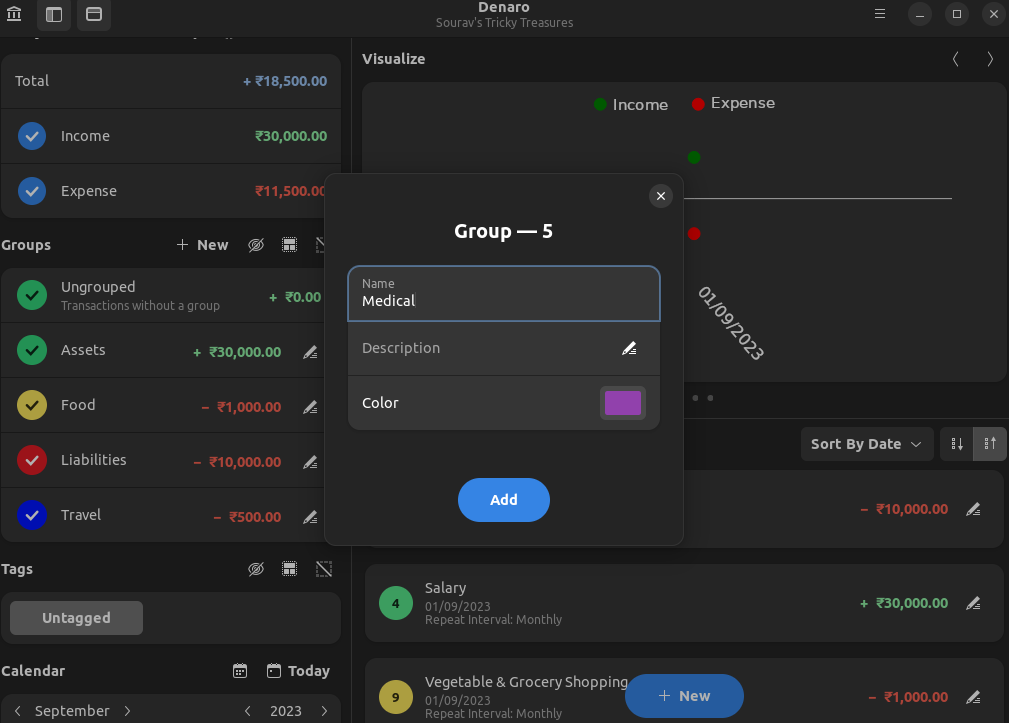
I then proceeded to fill Denaro up with some important transactions, and grouped them accordingly by creating new groups, as shown below.
You can access it by clicking on the “+ New” button besides the 'Groups' heading in the sidebar. You can give them a description and colors too!
After I was done with groups, I started entering some significant transactions into Denaro.
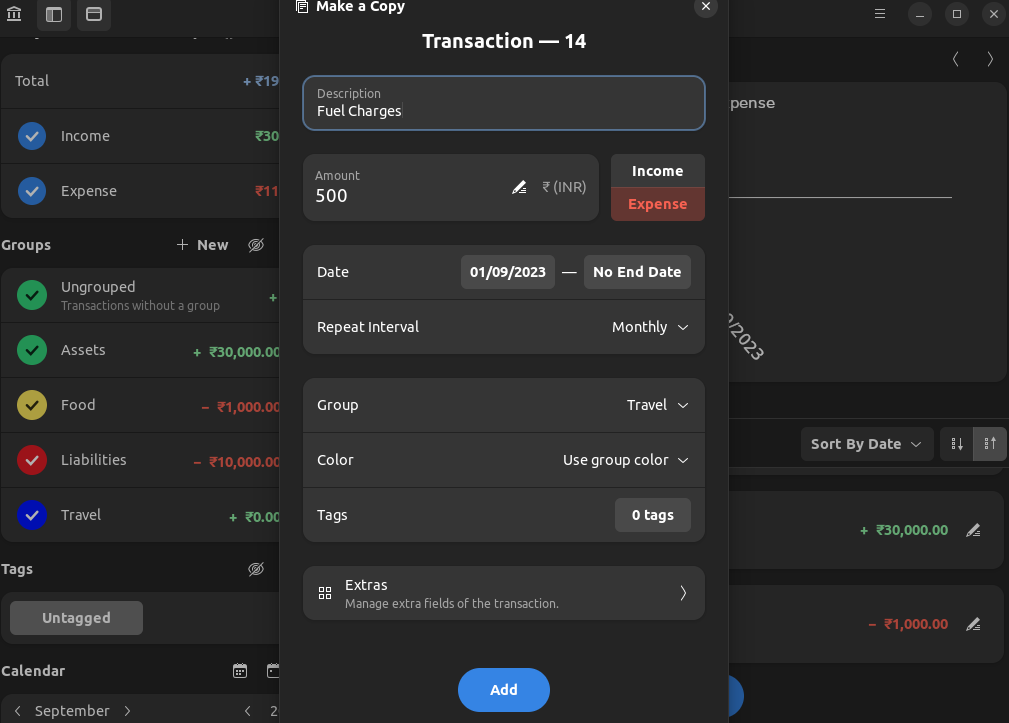
I set the amount, selected what kind of transaction it was (Income/Expense), set the date, and the repeat interval so that it would occur automatically, as those were fixed charges.
Next, I added it to a group, as you can see below. Fuel Charges went into the “Travel” group.
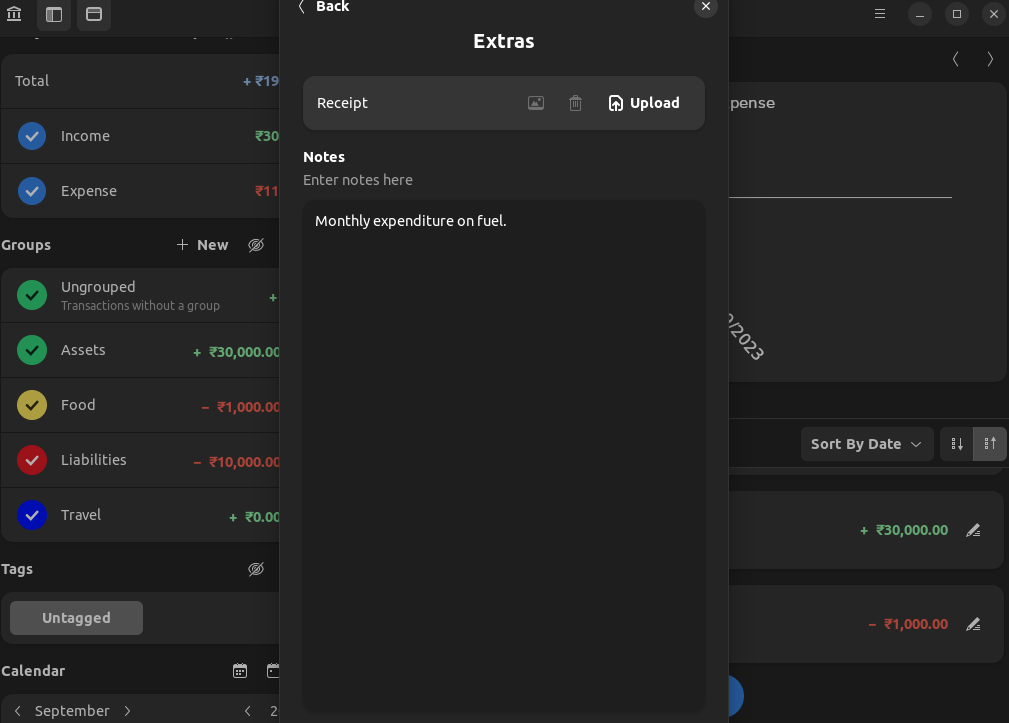
The app also gives you an option to add notes and upload receipts to transactions. This is a neat one, if you ask me.
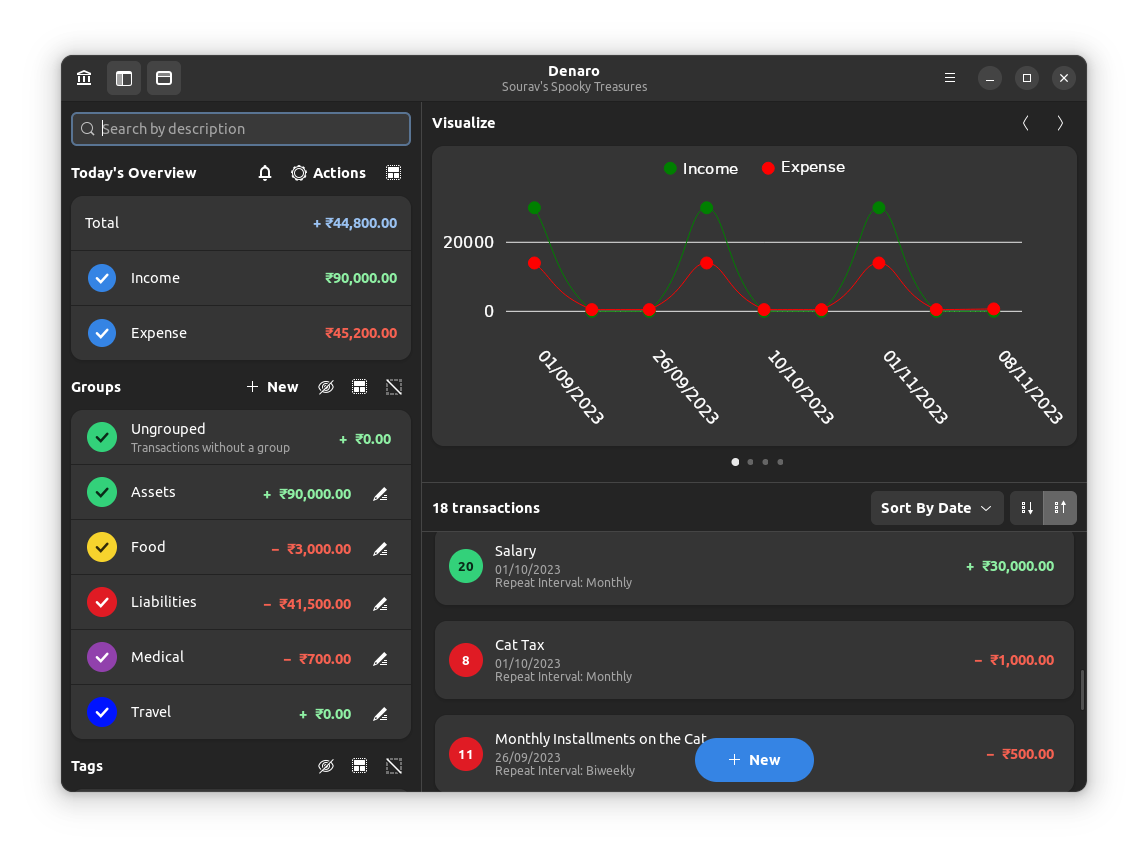
After I was done with data entry, I was shown a home screen that was filled with all the transactions I entered into it, with helpful visualizing charts in the center (more on that below).
I was able to sort through the info by unchecking specific categories and groups, and even searching for specific transactions using the provided search bar.
If you were wondering; how to add new transactions?
You see that big blue button below, that says, “+ New”, you can use that to create new transactions.
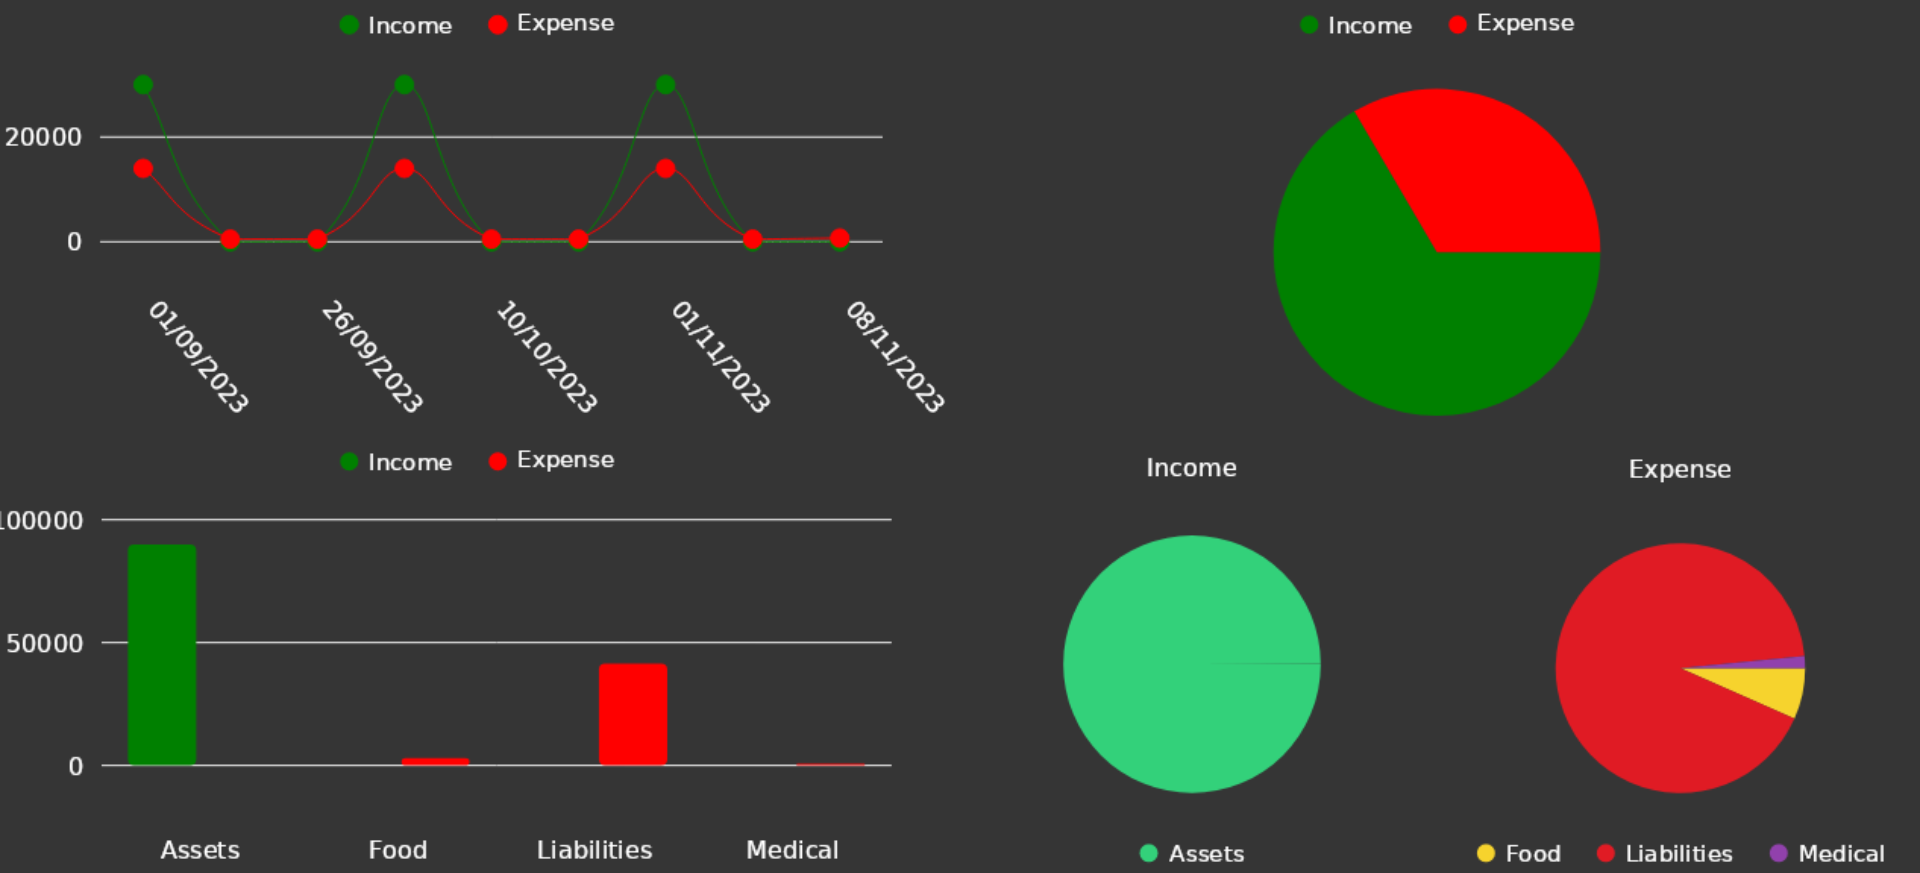
As for how data is visualized, Denaro shows four distinct visualize views that include a chart, a graph, and two pie-charts.
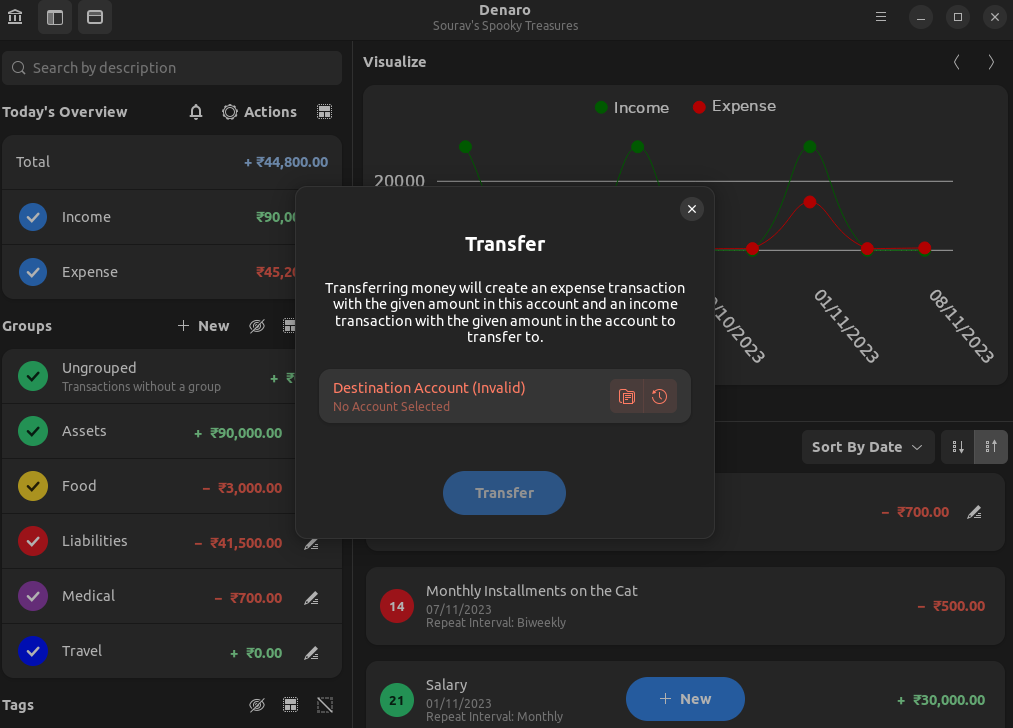
Denaro also has a multi-account feature where you can create multiple accounts, and even transfer money between them using the “Transfer” feature.
Access it by clicking on the “Actions” button and clicking on “Transfer Money”.
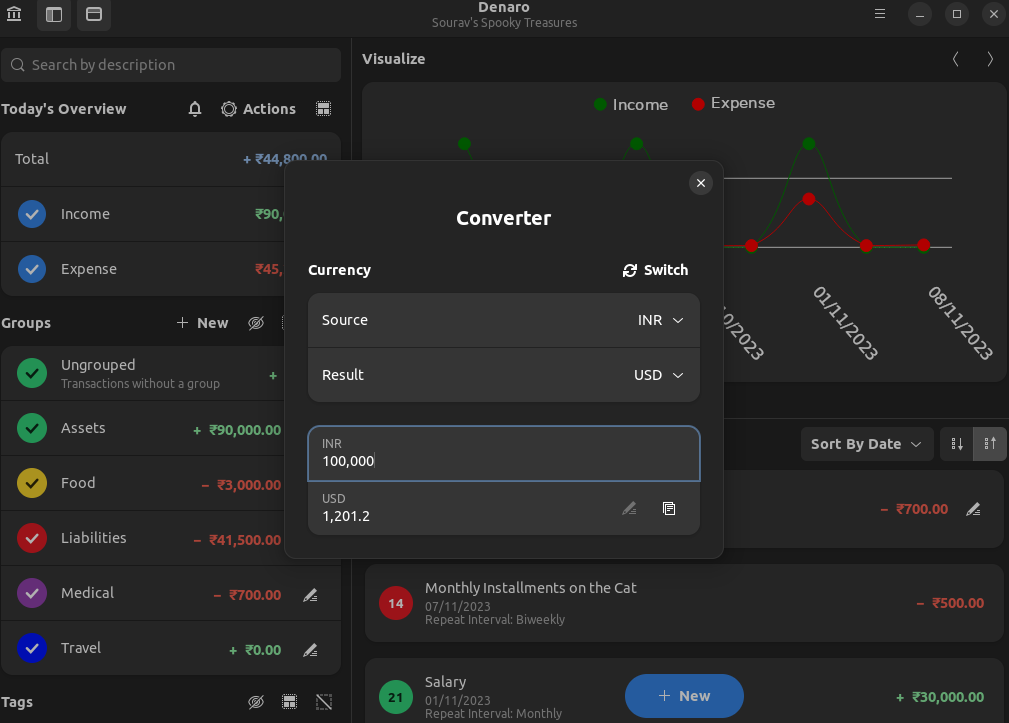
Another thing that caught my eye was the currency converter on Denaro. It listed all the major currencies, with a handy “Switch” button to change their positions.
Overall, it is an impressive personal finance management app.
From what I experienced, the user experience is pretty straightforward, and most users should be able to easily use it.
📥 Download Denaro
You can grab the latest release of Denaro from the Flathub store, Snap Store, and AUR.
For the source code, you can visit its GitHub repo.
💬 How do you manage your personal finances? Do you like to use an app like Denaro? Let me know in the comments below.
- Even the biggest players in the Linux world don't care about desktop Linux users. We do.
- We don't put informational content behind paywall. Your support keeps it open for everyone. Think of it like 'pay it forward'.
- Don't like ads? With the Plus membership, you get an ad-free reading experience.
- When millions of AI-generated content is being published daily, you read and learn from real human Linux users.
- It costs just $2 a month, less than the cost of your favorite burger.
Become a Plus Member today and join over 300 people in supporting our work.


