
Most of you might be familiar with Git. For those who aren't, it is one of the most popular version controls systems out there that has redefined how developers across the globe create and distribute software.
And, it's no surprise that open-source is at the core of it, pushing Git forward, while also enabling it to further the fundamental goals of FOSS thanks to its collaborative nature.
There's no doubt that there are plenty of GUI Git clients for Linux, such as Gittyup, gitg, Guitar, etc.
But, there's a new Git client in town called GitButler, which aims to be different from the others with what it tries to accomplish with its feature set.
As the brainchild of GitHub Co-founder Scott Chacon, GitButler is marketed as “a code concierge” which can handle all your code like a dependable personal assistant.
So, let's see what's it all about.
GitButler: Overview ⭐
Offered under a 2-year-long Functional Source License (FSL), GitButler is following this approach to avoid “competitive risk”, while also being open enough that individual users can easily take advantage of it, allowing them to fork the project, and build off it.
After which, it will be available under MIT License.
For developers, GitButler serves as a Git client that allows them to work on multiple branches at the same time, while also enabling them to refine their workflow with effortless file organization.
Key Features
In terms of what it can do, here are some notable highlights:
- It's cross-platform.
- Stores project history.
- Has generative AI capabilities.
- Offers an intuitive branch workflow.
There was even a recent release that brought about many improvements, like a lane-based commit view, undo timeline feature, advanced commit editing, new AI features, and more.
Initial Impressions 👨💻
I started off by installing the official AppImage on my Ubuntu 22.04.4 LTS system, and forked an existing GitHub project to test how the GitHub integration for GitButler worked.
For this test, I chose to go with Dosage, a very useful medication tracker app. Of course, that's not mandatory, and you can use GitButler with other Git workflows.
Before we proceed, do keep in mind that I am a newbie when it comes to using Git, and I may have made mistakes along the way. But, I tried my best to showcase what GitButler is capable of.
So, when I started up GitButler it showed me a screen to opt-out of the various telemetry options that it had.
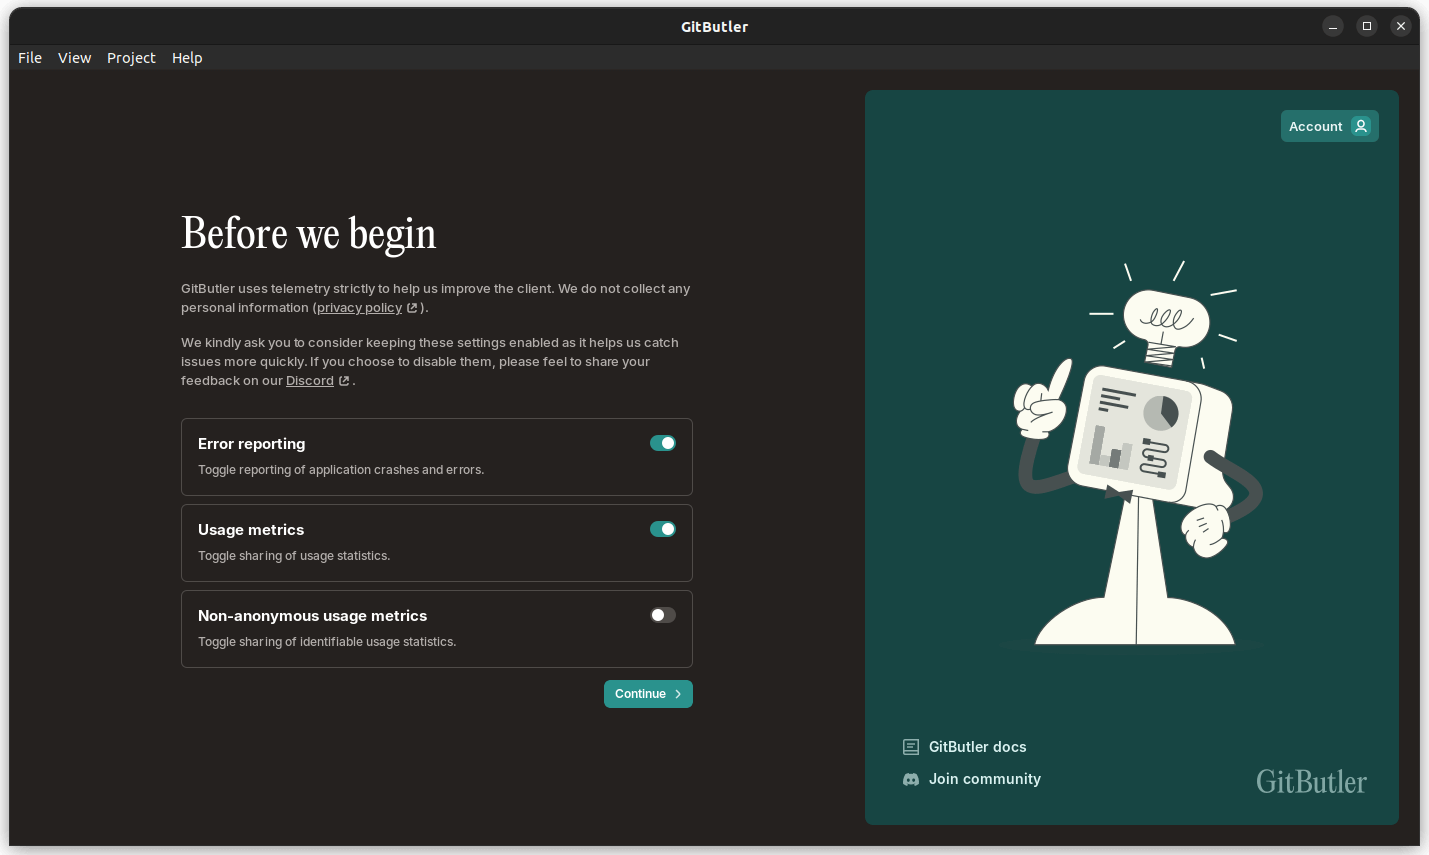
Subsequently, I created an account on GitButler just for checking things out, and linked my GitHub account to it. Remember, all of that is optional, no need to do it if you are privacy conscious.
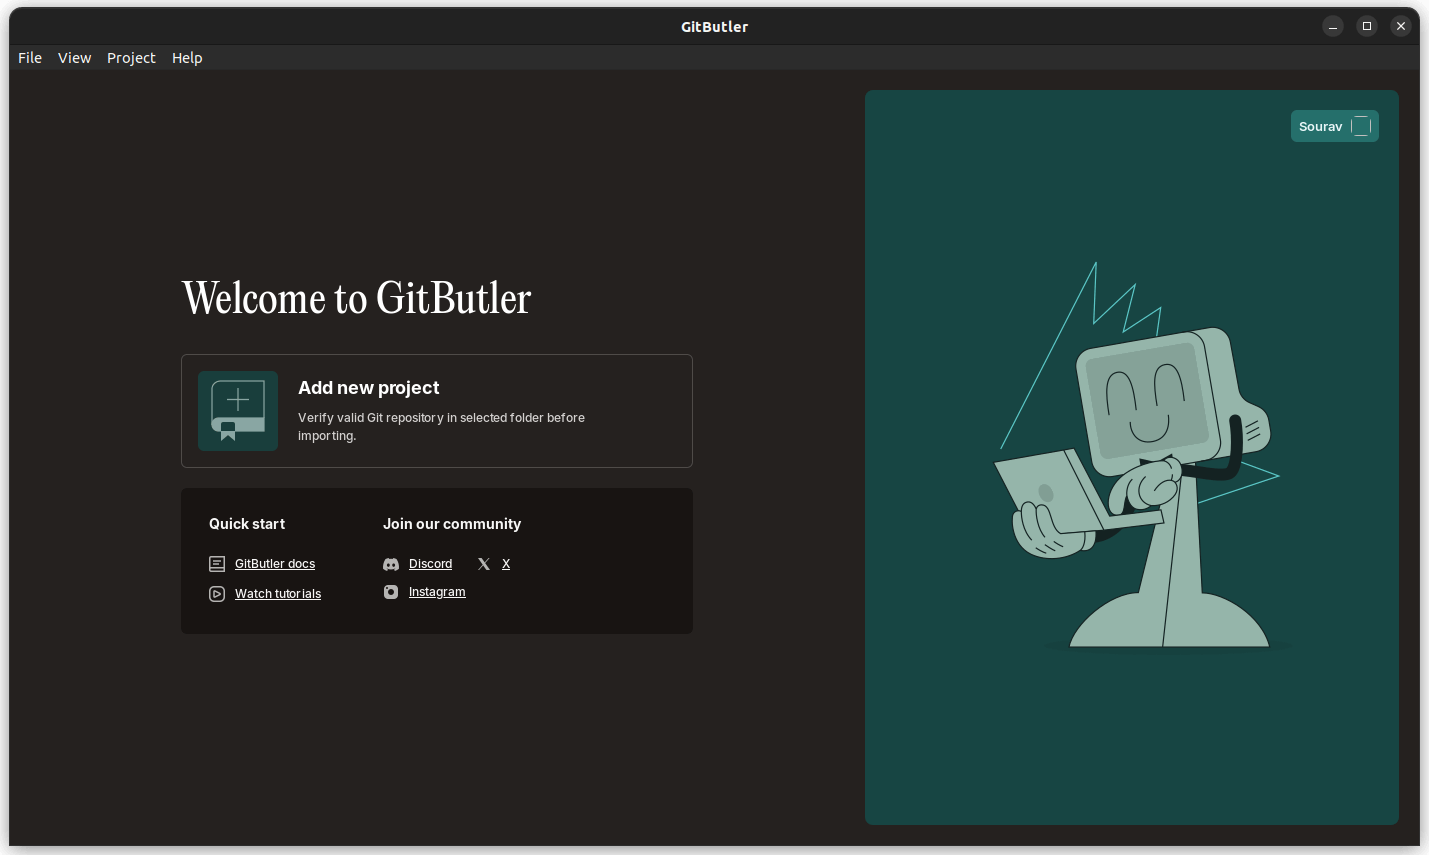
After that was done, it asked me to add a new project. So, I cloned my fork of Dosage into local storage and clicked on the “Add new project” button and added the folder to get started.
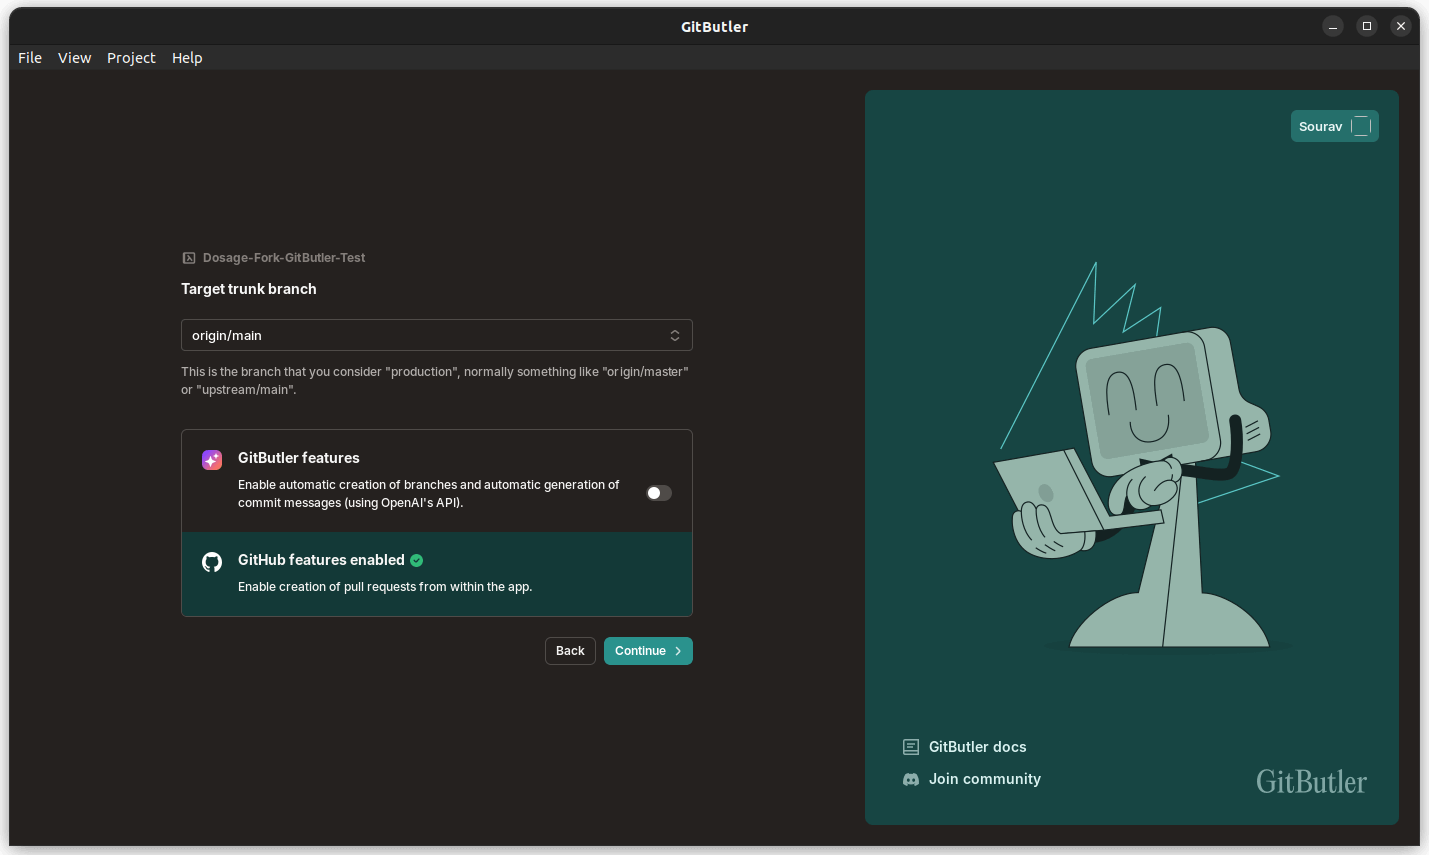
It then asked me whether I wanted to enable GitButler features for taking advantage of automatic branch creation and AI-powered commit message generation.
I did enable that, but, one of those didn't pan out, more on that later.
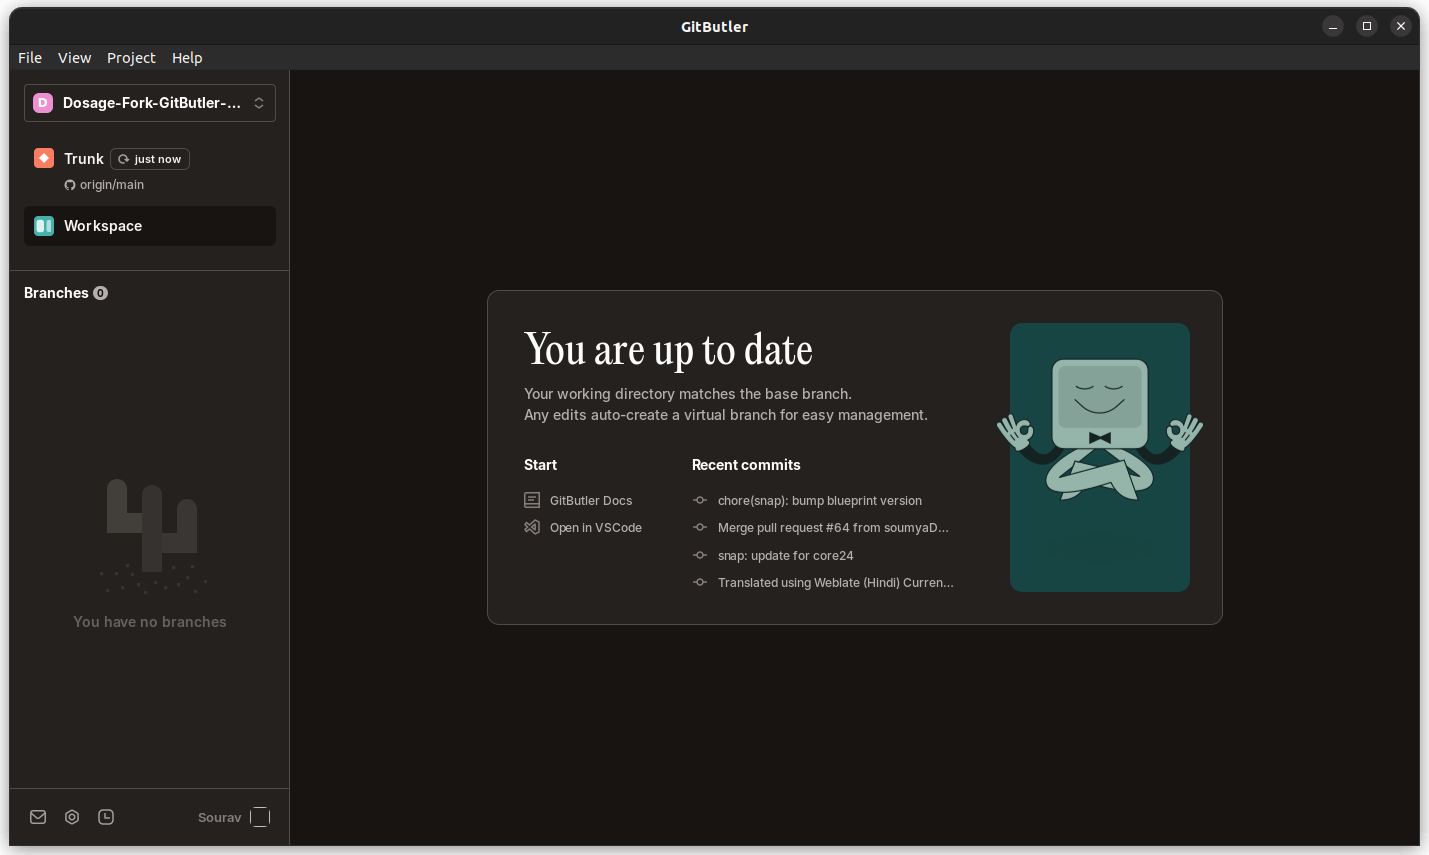
After the project was set, I was shown that everything was up-to-date on the base branch, and that any edits would automatically create a new Virtual Branch.
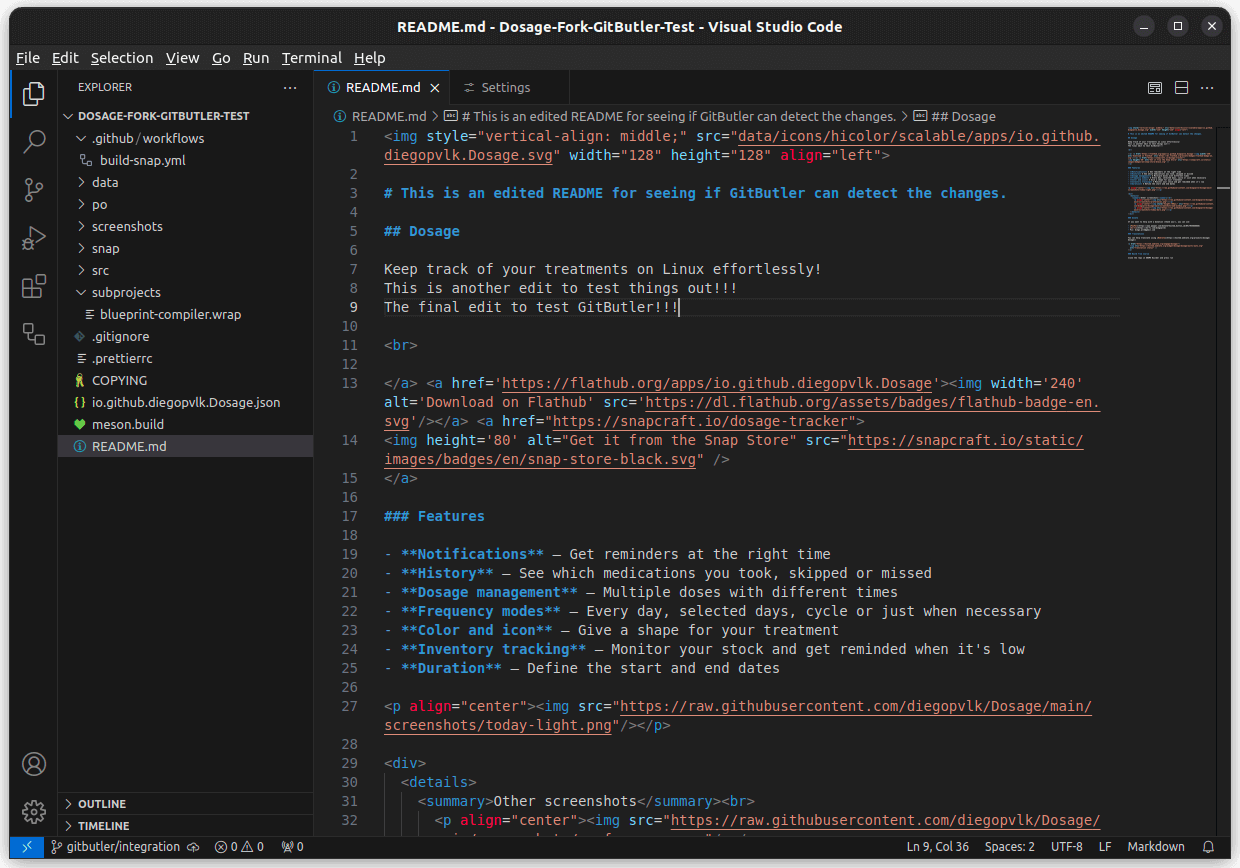
I then proceeded to make some minor changes to the README file using VS Code.
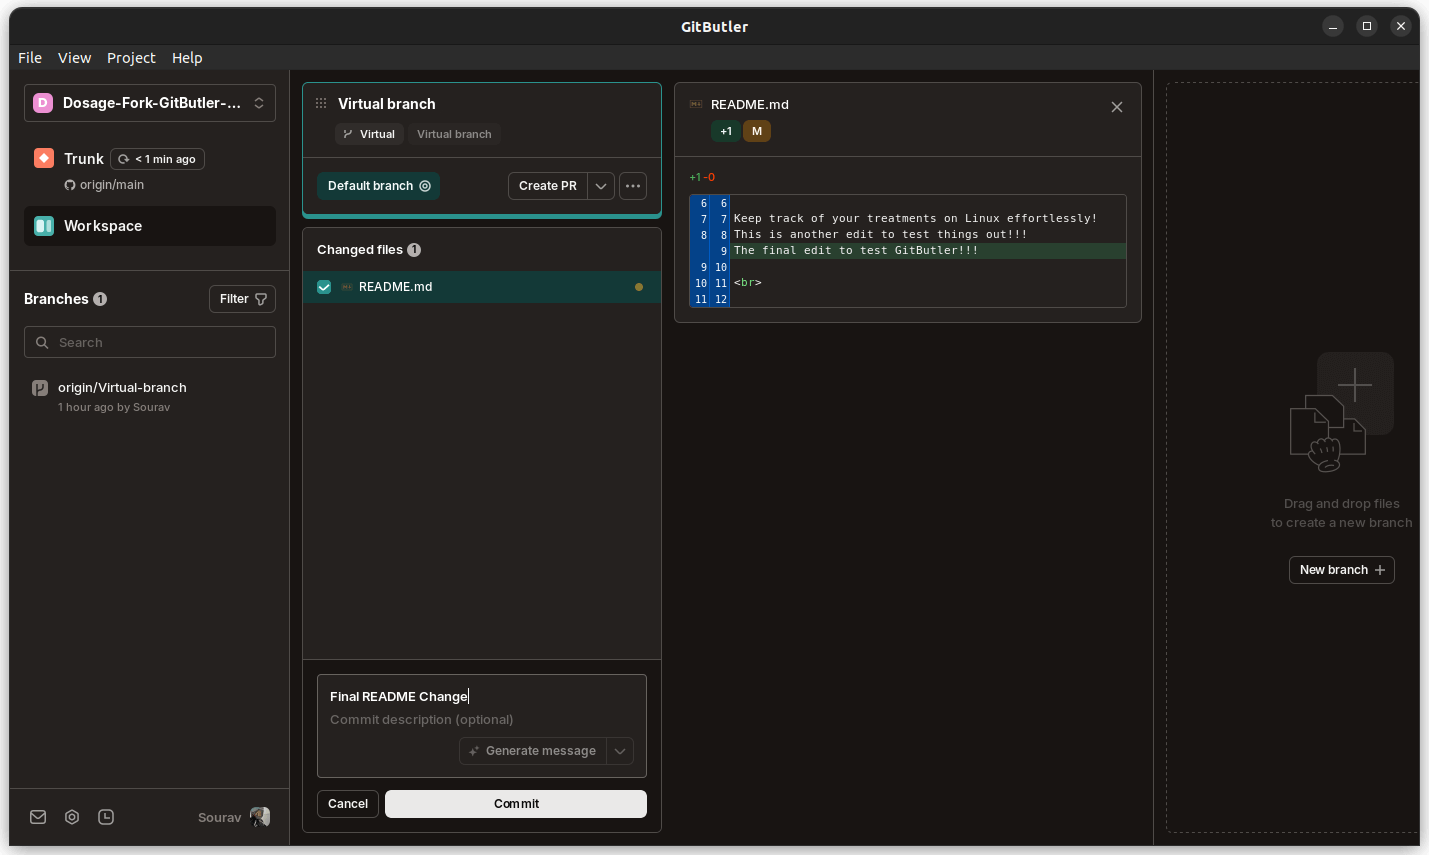
The changes I did show up on a newly created Virtual Branch, with an option to commit the changes to my repo with the ability to add a title and a message for it.
There was an option to use AI 🤖 to generate the commit message, but, it was greyed out.
I checked out the settings, and it turns out that the default option was OpenAI, with a GitButler API; maybe that was not working?
There were other options to choose from too. There was Anthropic, and Ollama, which can act as decent alternatives to OpenAI.
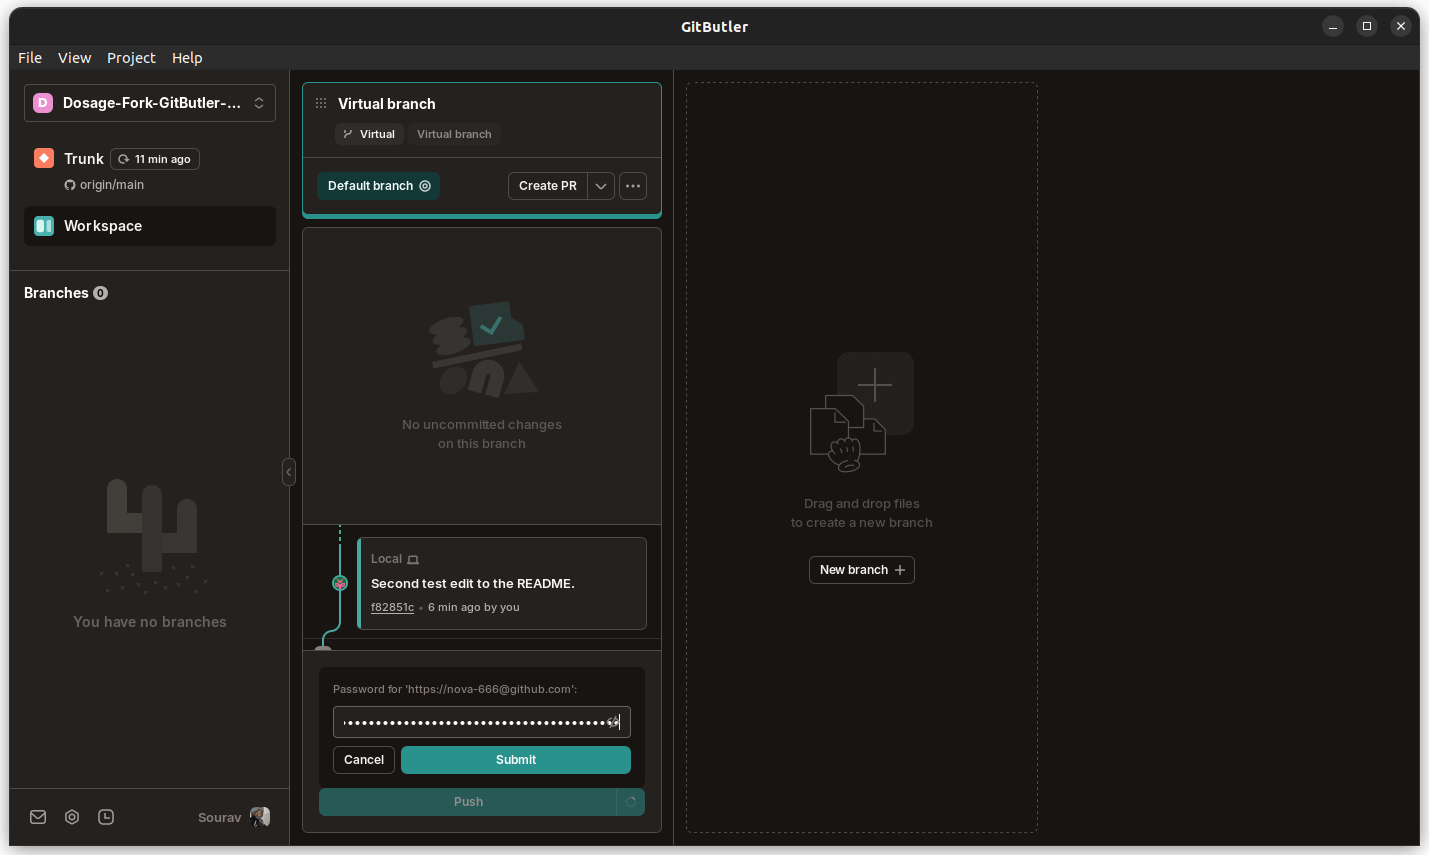
To successfully commit a change, I had to authenticate with GitHub by using my username and a personal token. The screenshot above shows it in action, but, from a previous commit that I had made.
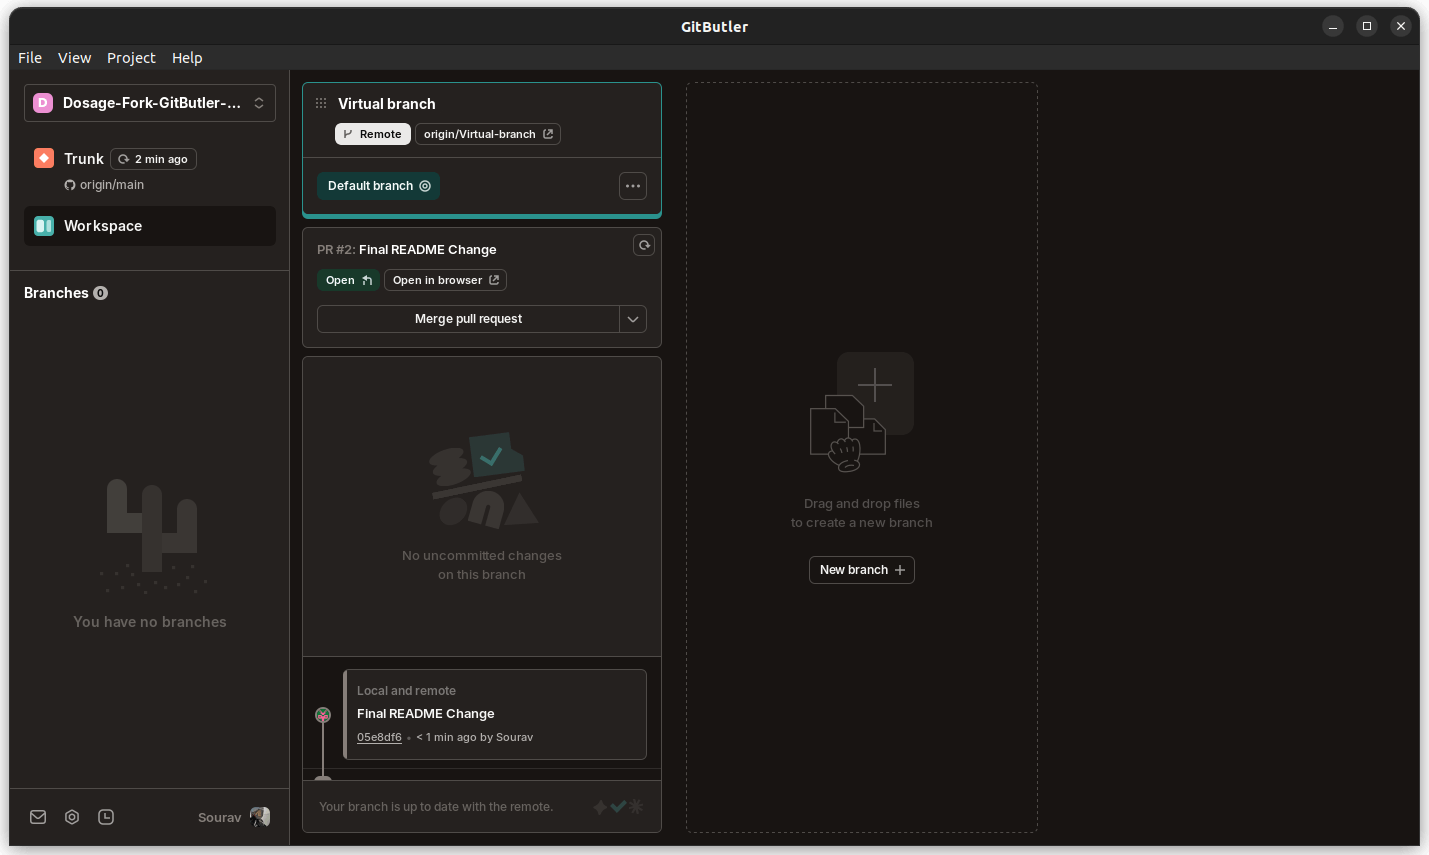
After the commit was a success, I was able to create a new PR for merging the Virtual Branch into the repo from within GitButler itself. I merged it to the repo by using the “Merge pull request” button.
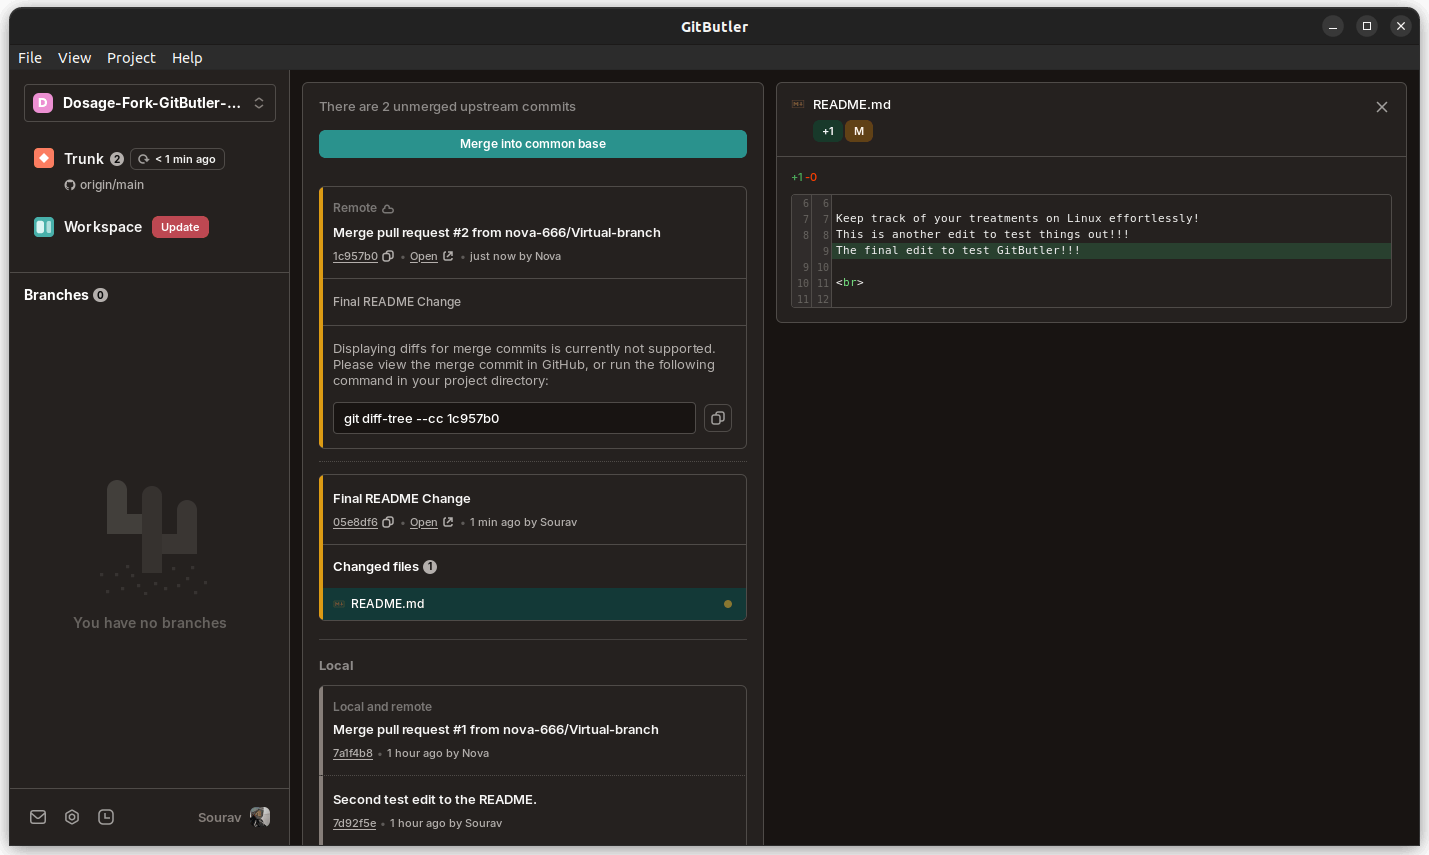
As you can see above, every merge that I carried out was successful, and GitButler prompted me to merge into common base to bring it on par with the repository, at least that is what I think that was.
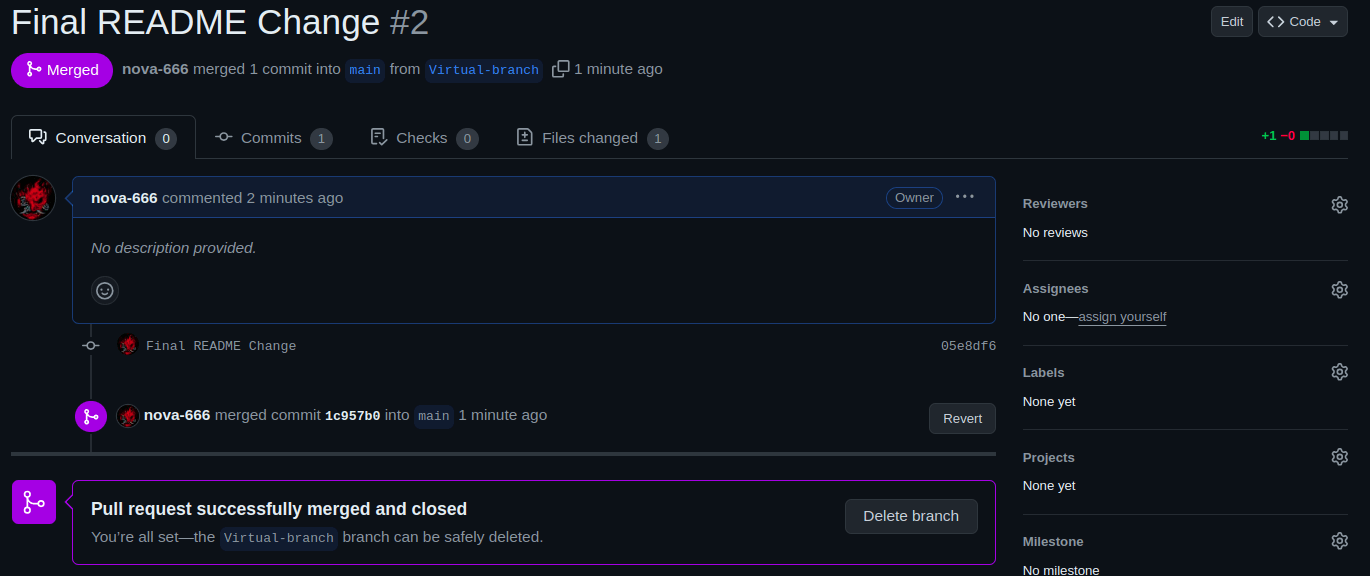
This is the result of the final merge I did. GitButler even closed the PR for me, which, I think, is a pretty neat thing for it to do.
Overall, GitButler did what I wanted it to do, and I didn't really face any weird issues with it. Of course, I did not push any code-related changes using it, but, that's just my rusty coding skills hiding in the corner.
📥 Get GitButler
Currently, GitButler is offered for free to individual users, with plans to offer team-focused features aimed at enterprises in the near future. Before you get started, the documentation is a must-read.
Then, you can head to the official website to get the latest GitButler release for Linux, Windows, and macOS.
If you are interested in contributing to the project, then you can refer to its GitHub repo.
💬 I am excited to see such an innovative Git client. What about you? Know of anything similar?
- Even the biggest players in the Linux world don't care about desktop Linux users. We do.
- We don't put informational content behind paywall. Your support keeps it open for everyone. Think of it like 'pay it forward'.
- Don't like ads? With the Plus membership, you get an ad-free reading experience.
- When millions of AI-generated content is being published daily, you read and learn from real human Linux users.
- It costs just $2 a month, less than the cost of your favorite burger.
Become a Plus Member today and join over 300 people in supporting our work.


