Jailtime for Retro Game Console Reviews? Italy’s Copyright Enforcement Sparks Debate
Italian YouTuber raided over handheld review, faces possible jail time.
Italian YouTuber raided over handheld review, faces possible jail time.

Mozilla did a very good job with this. Now, bring it to Linux as well, please.
A new vibe coding tool for Linux devs is here. Watch out Cursor!


So, I recently upgraded to a dual-monitor setup (1080p + 1440p).
While I was excited about the productivity boost by getting things done faster without the need to manage/minimize active windows constantly, there were a few nuances that I came across.
To my surprise, Flameshot refused to work. And, for the tutorials or articles I write, a screenshot tool that offers minor editing or annotation capabilities comes in handy.
If you have a similar requirement and are confused, the GNOME Screenshot tool is an option that works with multiple screens flawlessly.
However, it does not offer annotations. So, I will have to separately open the image using another image editor or Ksnip to make things work.
Instead, I decided to use Ksnip for screenshots + annotations? Convenient, right? Yes!
Let me share my brief experience with Ksnip, and why I think you should try it as well!
I installed Ksnip using the Flatpak package from Flathub. But, you can also find its Snap package on Snapcraft.
Packages including DEB/RPM and the AppImage file can be found in its GitHub releases section.
You should not have any issues installing it on any Linux distribution. I am currently using it on Pop!_OS 21.10.
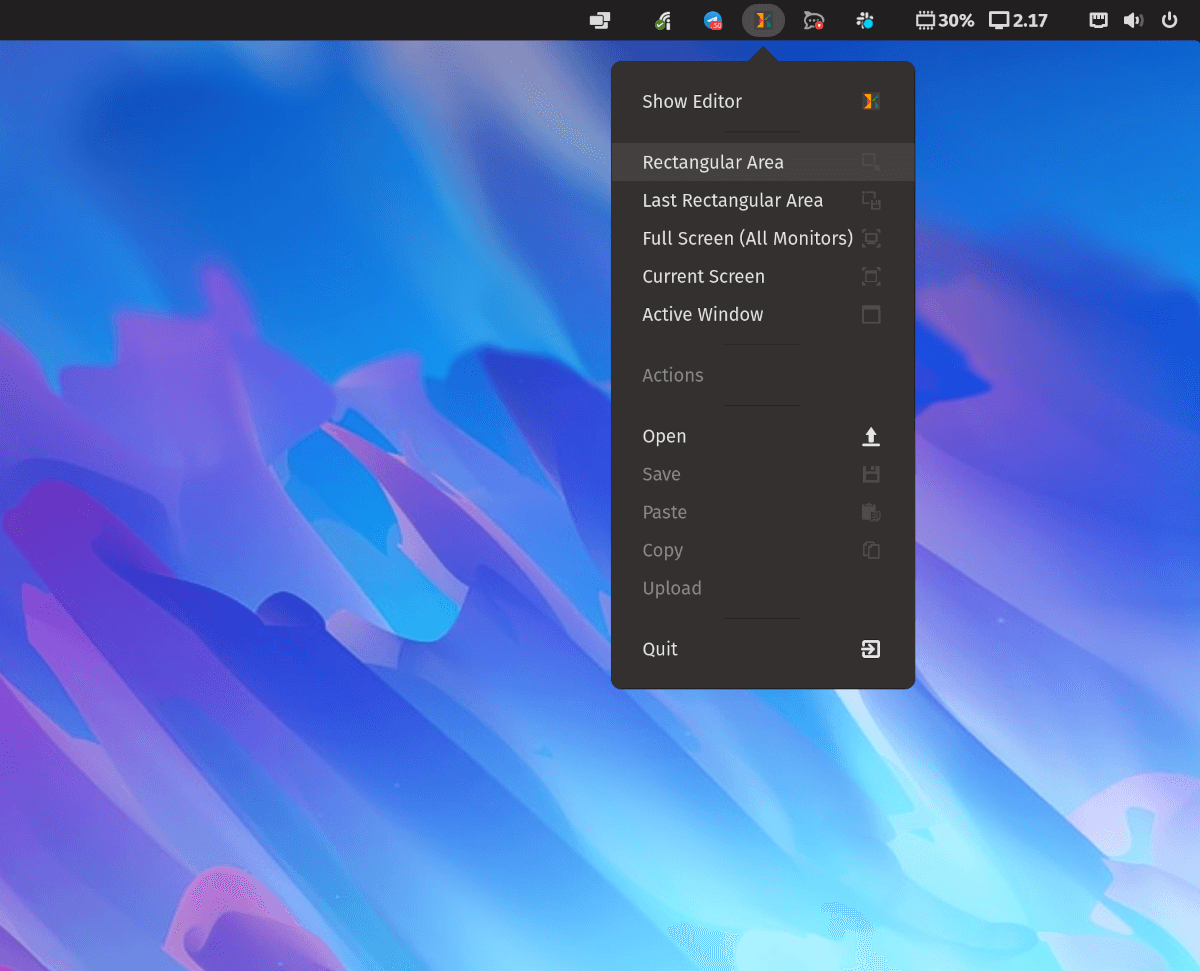
Ksnip supports system tray integration out-of-the-box. So, you should get quick access to the tool and its options, as shown in the screenshot above.
It lets you take an entire screenshot of two monitors combined using the Full-Screen option. In my case, the result is not pretty (considering I have two monitors with different resolutions) and the file takes up more than 9 MB in size.
In any case, I do not have a use-case of such an option. So, I stick to the ability to take screenshots of a rectangular area.
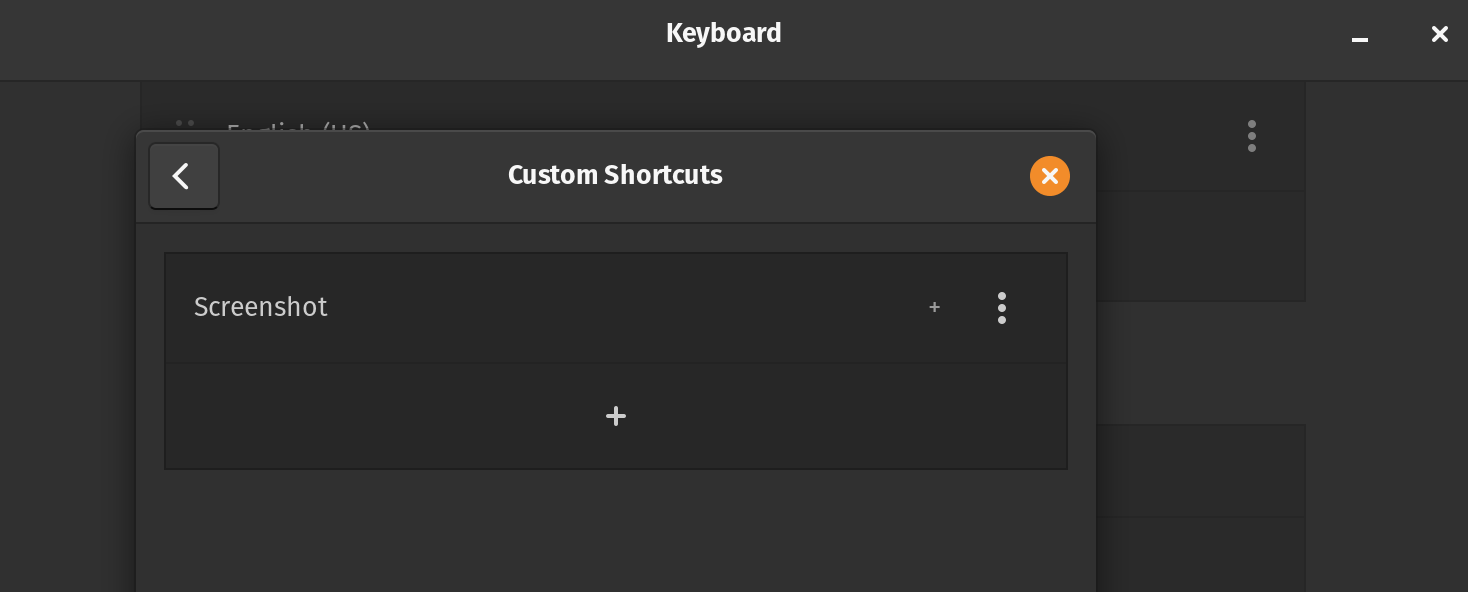
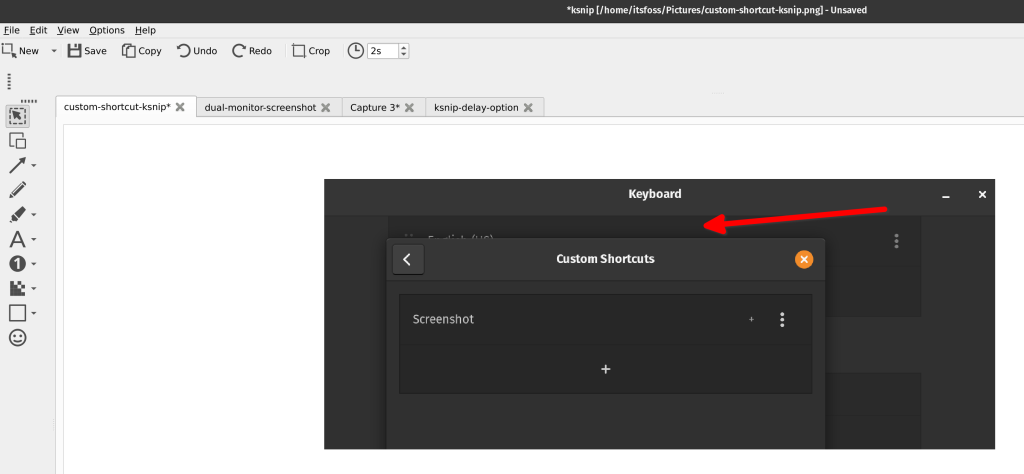
I created a custom shortcut to take a screenshot of an area (or rectangular region) to make it more convenient. Accurately, I mapped it with the middle-click button on my mouse. You can set your preferred shortcut if you want.
Unfortunately, it does not feature a “delay” option in the system tray to initiate a screenshot after a time gap. But, you can add a delay by accessing the Ksnip editor and initiating a screenshot from within.
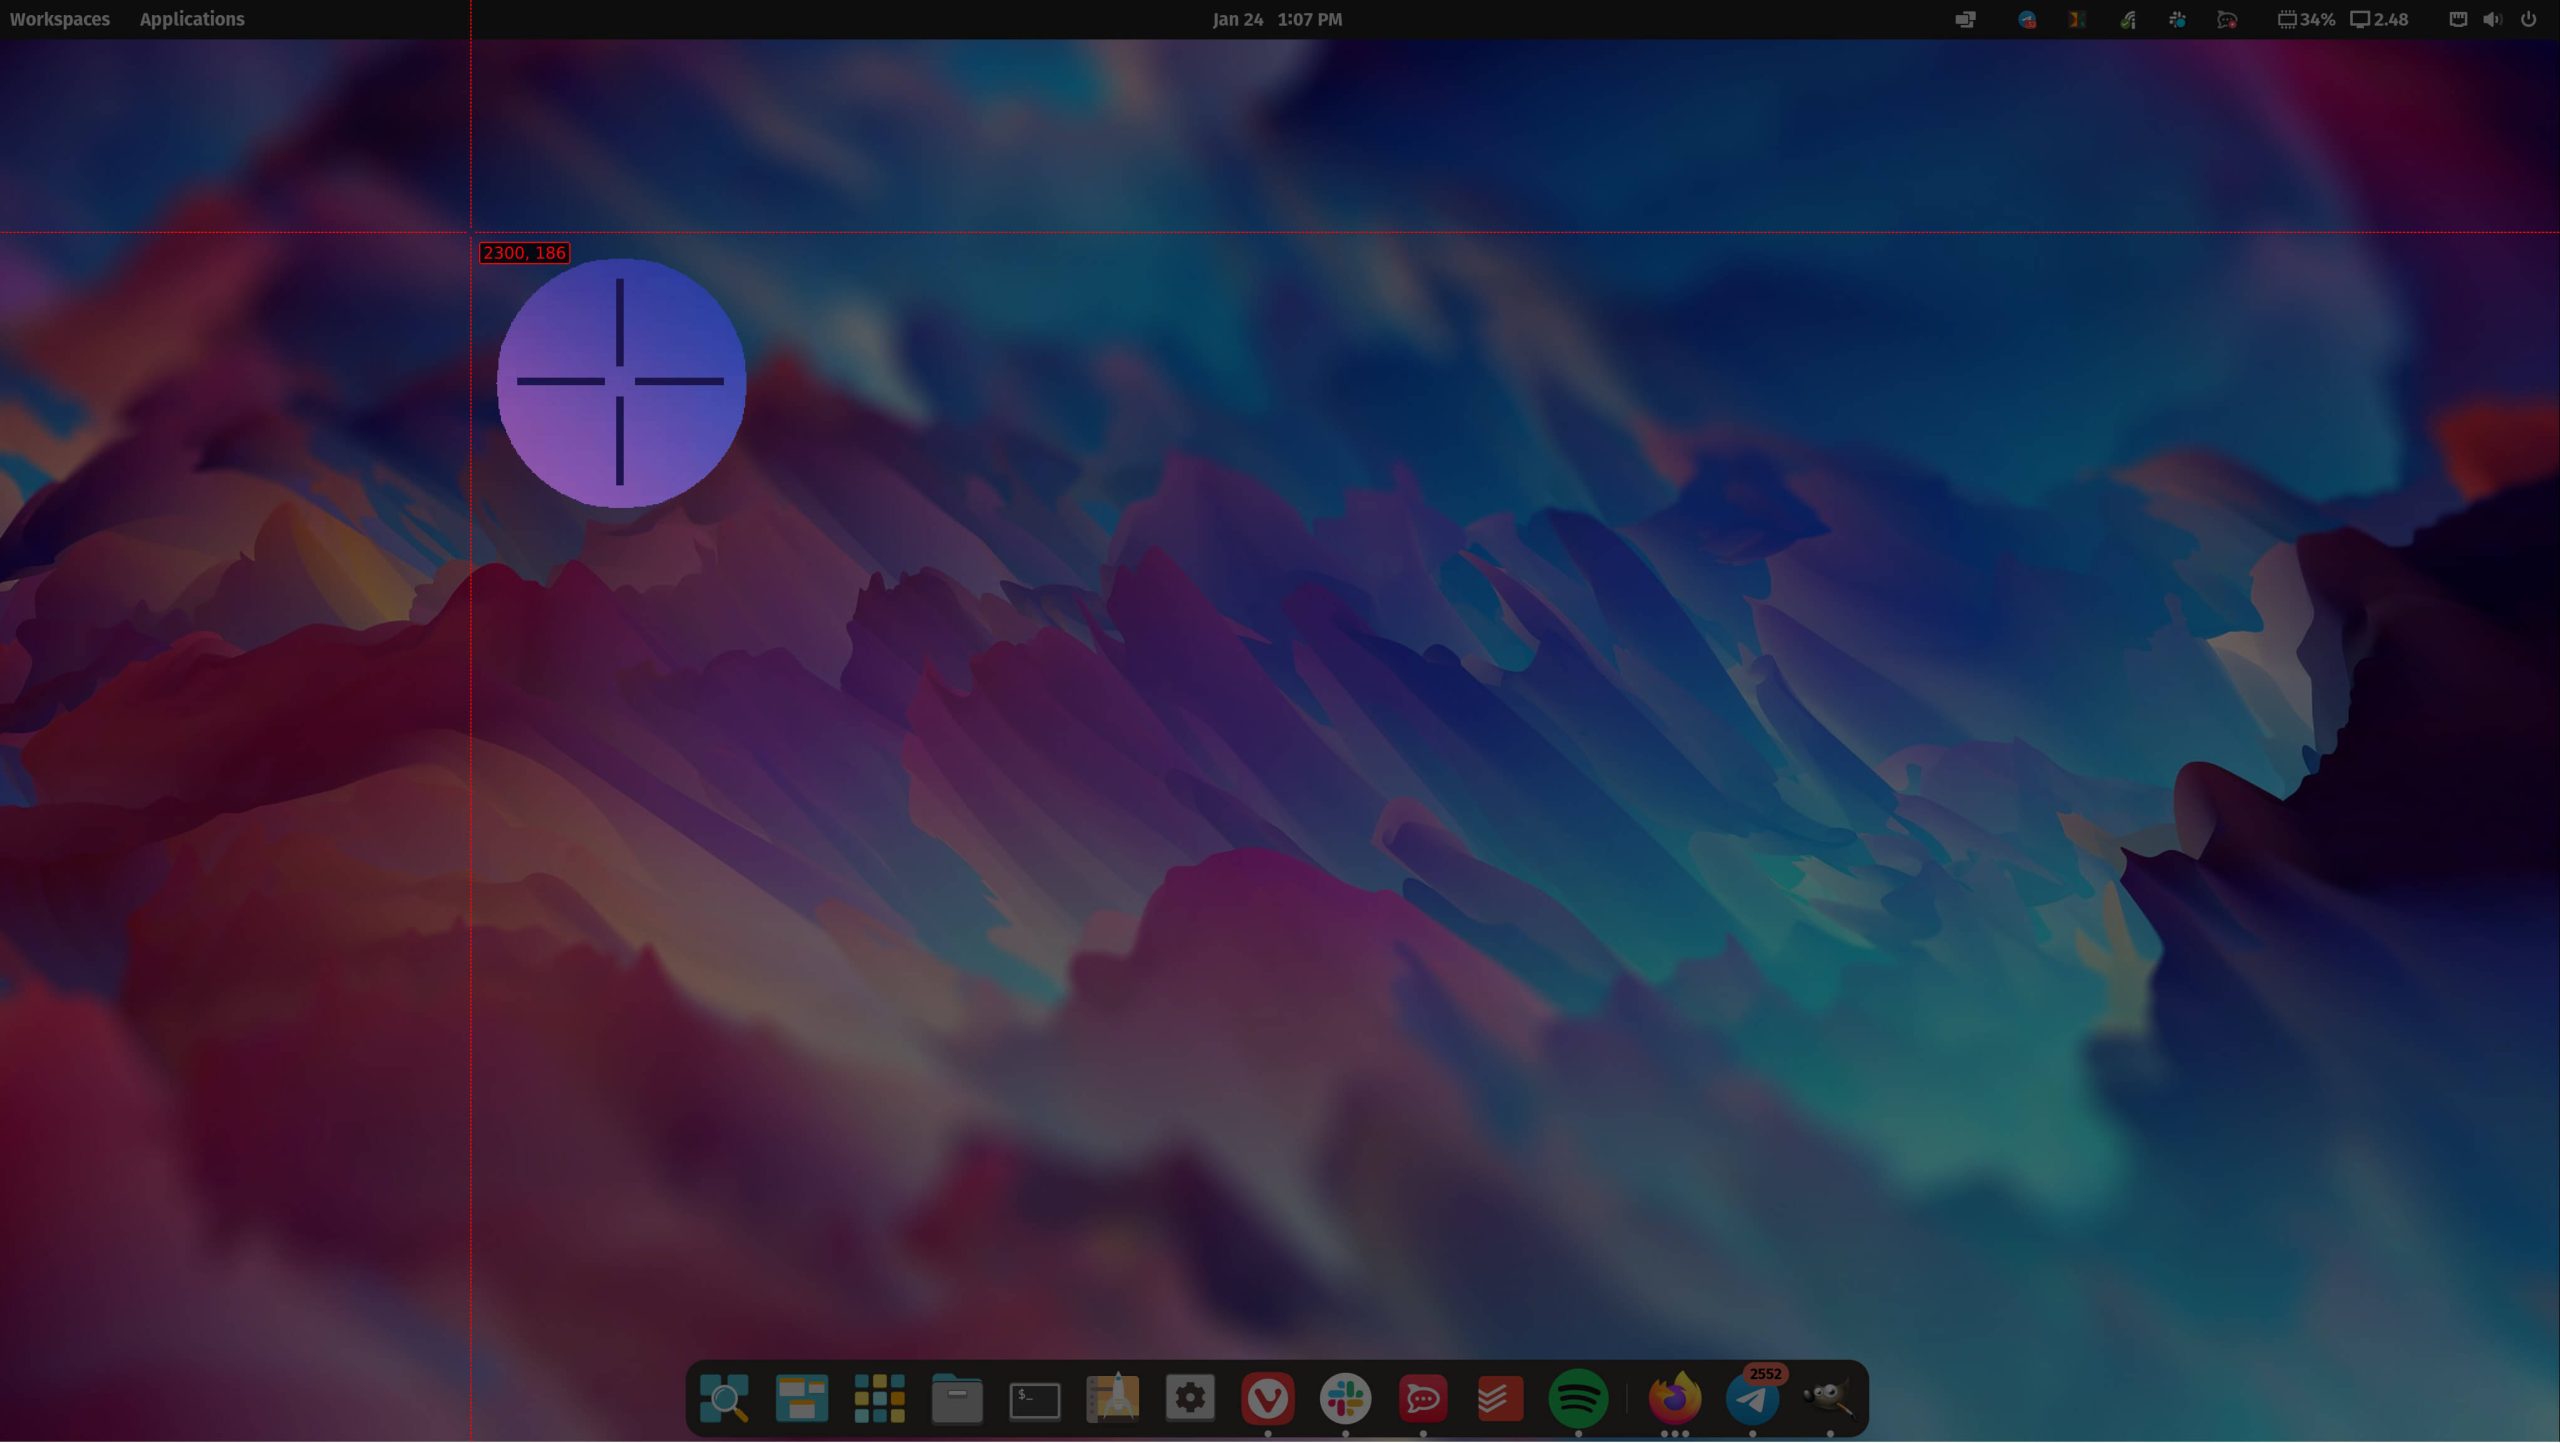
Moving forward, it lets me accurately select a rectangular area across both the monitors, which I want.
Now, these options alone let me take all kinds of screenshots.
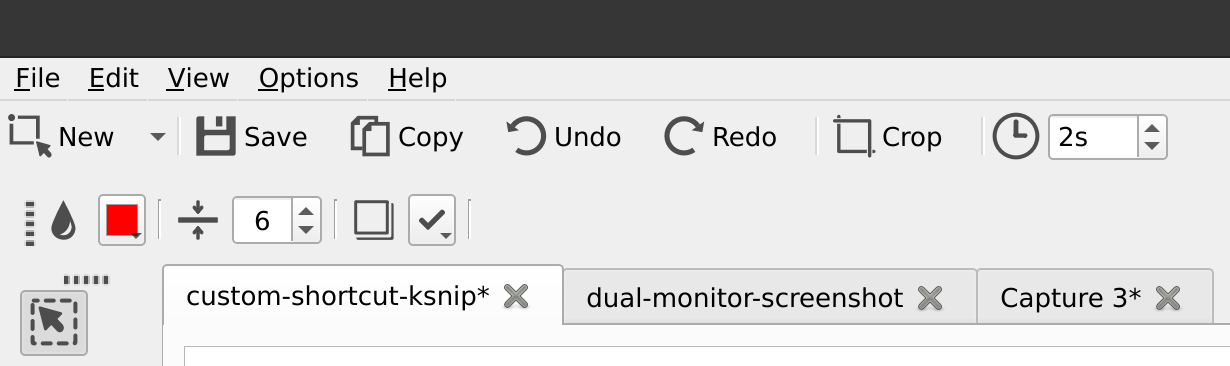
Once the screenshot has been taken, Ksnip directly opens the editor to let you add annotations, save the photo, or discard it.
When compared to Flameshot, if I miss adding annotations while taking the screenshot, there’s no built-in image editor to help me with that. And, with Ksnip, I do not have to worry about adding annotations immediately; I can think it over and add annotations if necessary.
It also allows me to modify the annotations, even after I saved the image to storage. What a nifty feature!
In addition to all these, you also get some key features like:
For my workflow, Ksnip is probably the best screenshot tool for Linux and I will be sticking to it for the near future!
What do you think about my experience with Knsip? Have you tried it as well? What do you think about it? Let me know your thoughts in the comments!


Italian YouTuber raided over handheld review, faces possible jail time.


Is this the end of fragmentation for Linux?


Microsoft is done with Skype, but it could still have a future.
Stay updated with relevant Linux news, discover new open source apps, follow distro releases and read opinions