Jailtime for Retro Game Console Reviews? Italy’s Copyright Enforcement Sparks Debate
Italian YouTuber raided over handheld review, faces possible jail time.
A nifty GNOME extension to maximize productivity.


Being able to achieve 100% percent productivity is a myth, but that doesn't mean that one shouldn't try to be organized in their lives, be it personal or work.
Many people use tools like pomodoro timers to pace their daily tasks, by working in set intervals, followed by short breaks, then repeating the same. But, there are other aspects of a workspace that one could improve upon too.
Take your operating system for instance, its built-in window management can be a bottleneck if you are someone who likes having many windows open across multiple workspaces and displays.
But, there's a way to get past that, and if you are running Ubuntu, or any other Linux distribution that has GNOME, then you are in luck.
With this First Look, we will be taking a look at “Tiling Shell”, an open-source window tiling solution for GNOME-equipped systems.
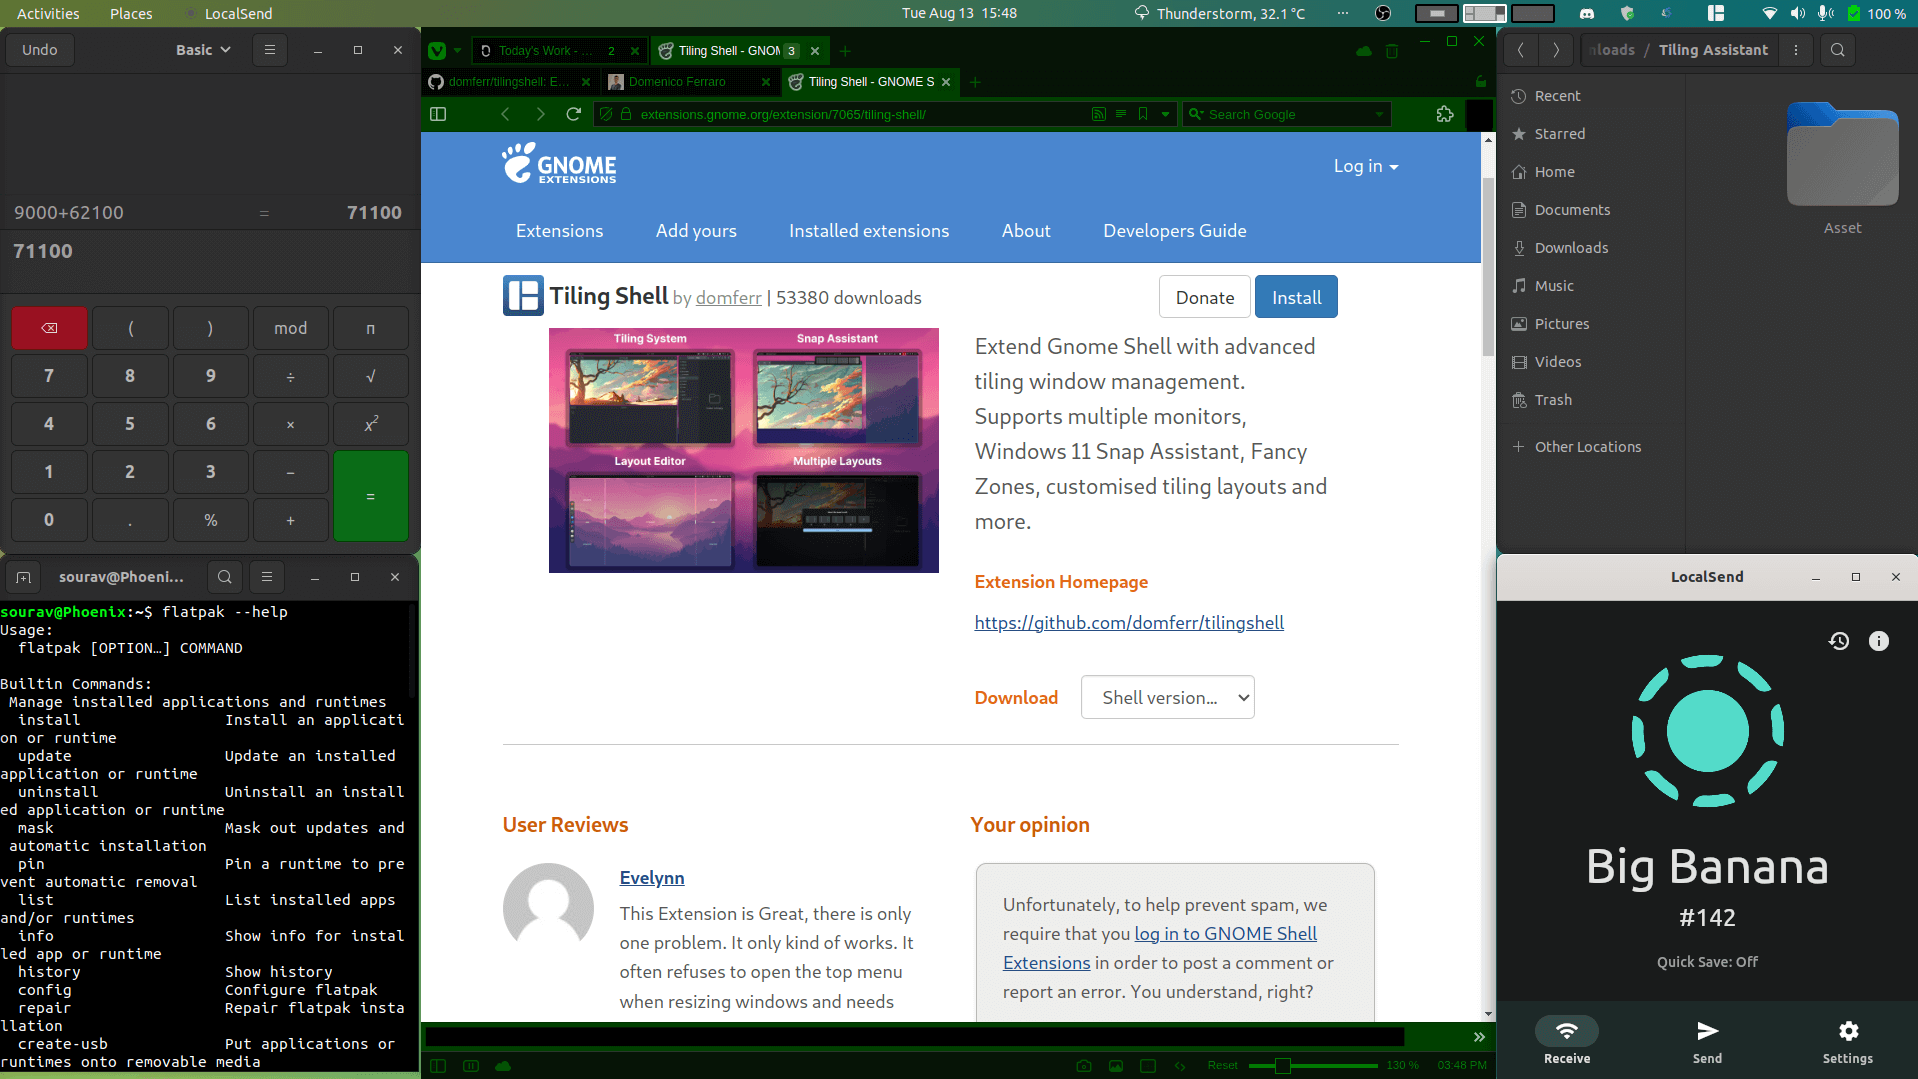
Written using the TypeScript programming language, the lead developer behind it, Domenico Ferraro, terms it as:
A Gnome Shell extension implementing modern windows tiling system by extending GNOME's default 2 columns to any layout you want!
Some key highlights of Tiling Shell include:
I have been using Tiling Shell for the past few months on my Ubuntu 22.04.4 LTS-equipped laptop, which runs GNOME 42.9 (X11 session). I had installed it after I felt the need to have a more intuitive window tiling set up after I saw the one on Windows 11 in action. (the only thing I like about it)
My configuration of Tiling Shell is pretty close to the default settings, and I will say that the experience so far has been great.
The level of control it gives is impressive, there are options to tweak the inner/outer gaps between windows, enable snap assistant, configure the tiling system, add keybinds for window management, and more.
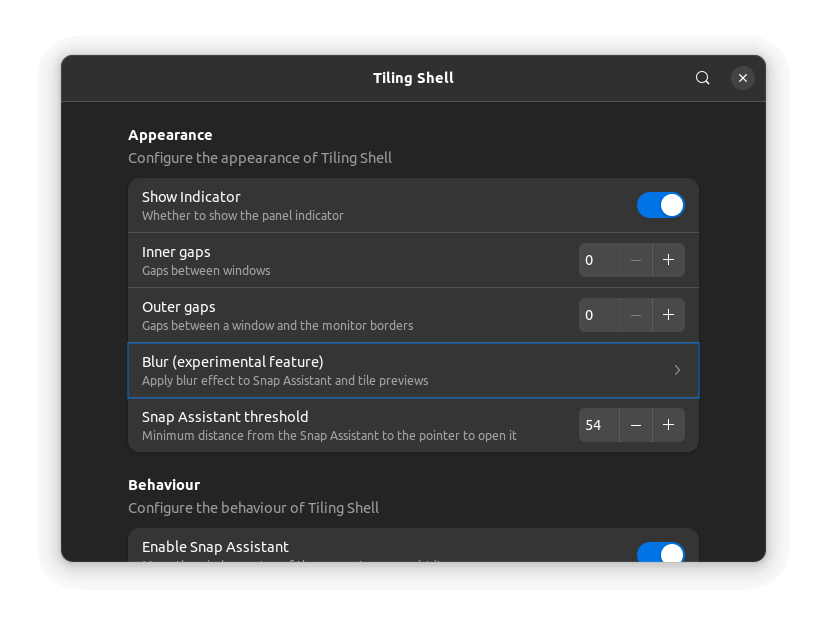
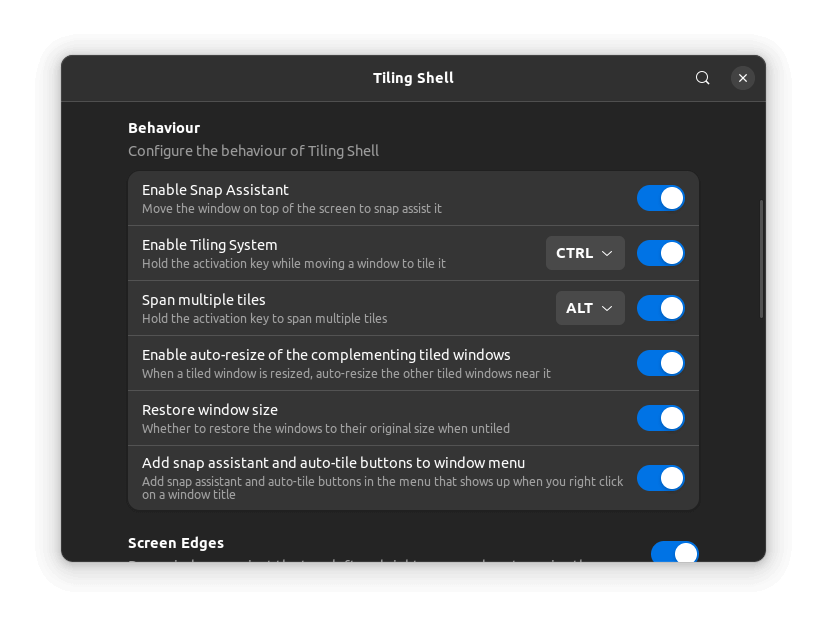
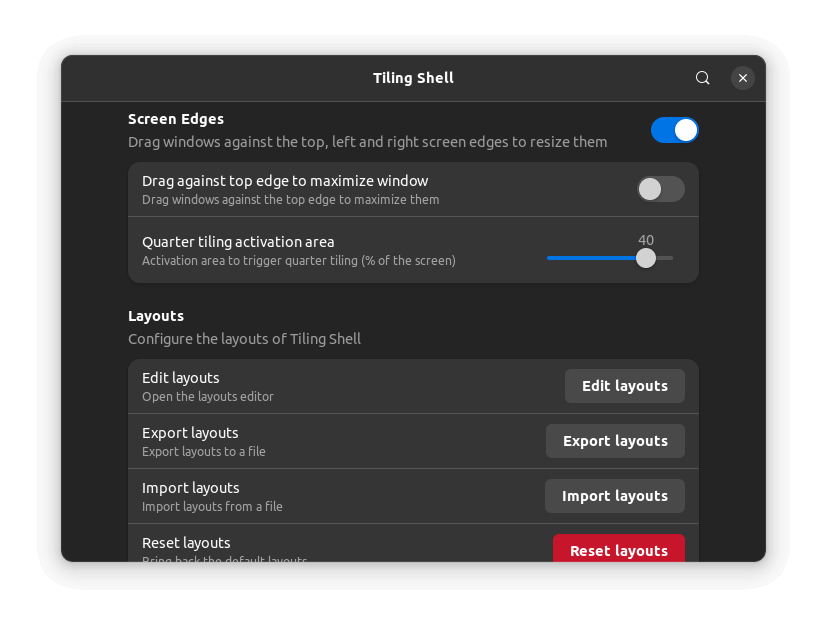
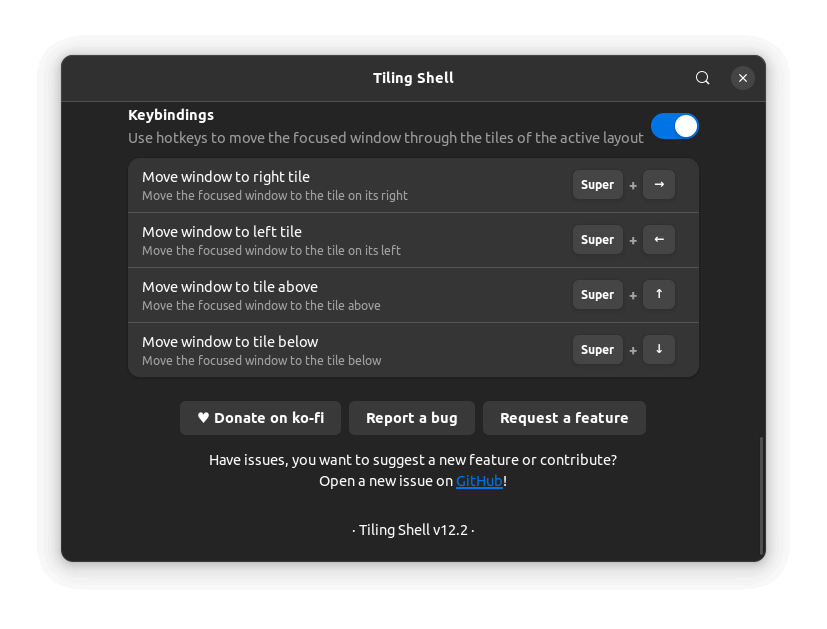
Various settings of Tiling Shell
In terms of the layout choices, the possibilities are endless (literally), there are some handy pre-configured ones that are usable. But, the main highlight is the layout editor, which is the star of the show.
It features a slider mechanism, which can be coupled together with keyboard shortcuts (not shown in the article) to create the perfect layout according to one's preference. Post editing, clicking on the tiling assistant indicator shows an option to save it.
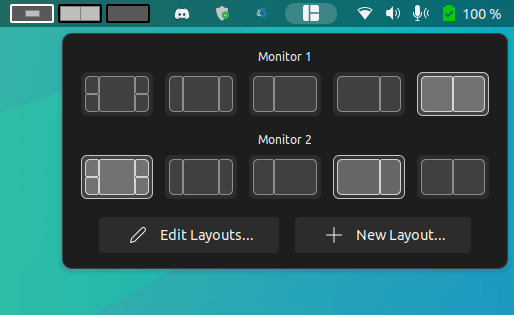
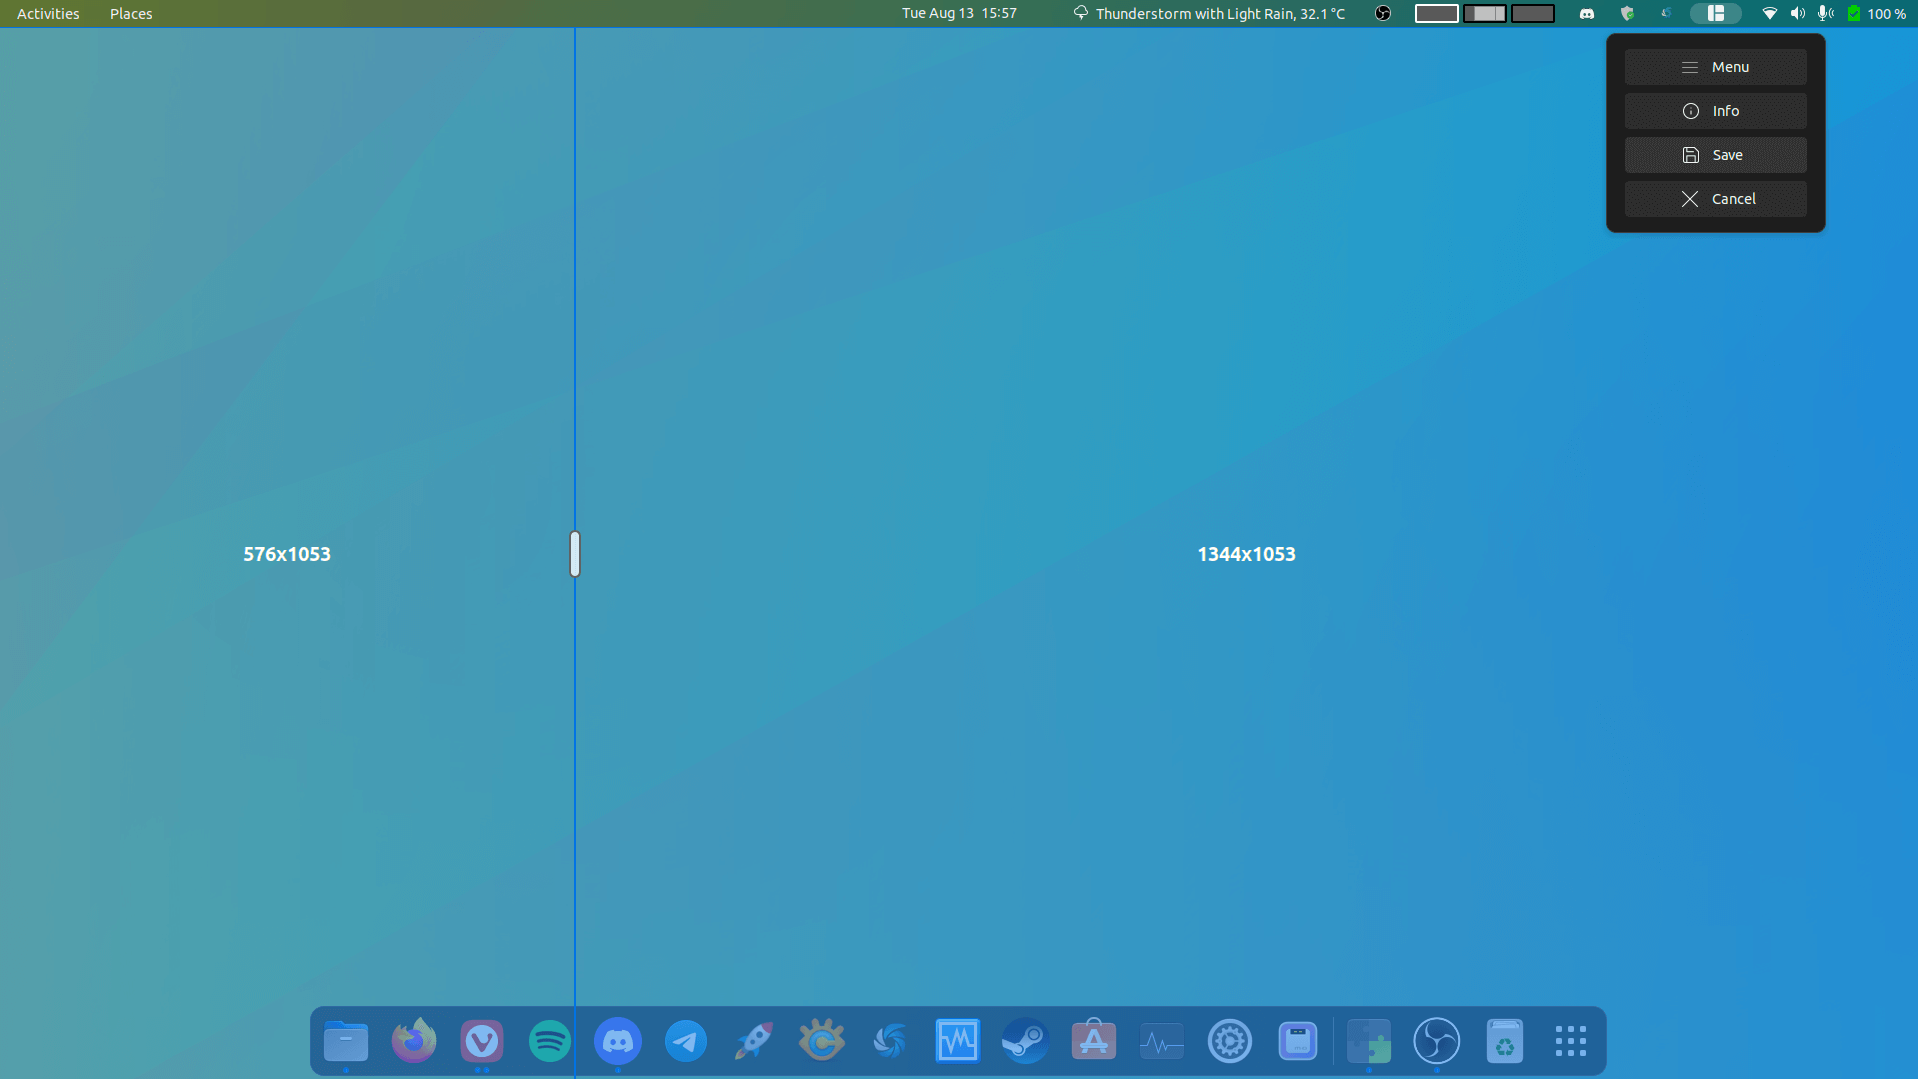
Left: Layout Switcher Right: Layout Editor
In the layout menu shown above, the last one is a custom one that I had created using the editor for tiling two equal-sized tiled windows, similar to what we find on most window tiling setups.
Additionally, if you go into the settings for Tiling Shell, you have the option to import/export layouts so that they can be used across devices. For me, it didn't function as expected.
As for how the multi-monitor experience is, Tiling Shell doesn't disappoint in that matter. It's easy to tile windows between workspaces and displays using the snap assistant, I didn't feel that this behavior was an add-on, it felt quite native to me.
I usually use the Ctrl button on my keyboard to snap windows in my custom layout by dragging them around. But, the mouse-only operation via snap assistant was great, and is almost the same as the one found on Windows 11.
Keep in mind that it is not a standalone app, but a shell extension for GNOME, you can get it from the GNOME Extensions website.
If you are not familiar with how to install a GNOME extension, then you should give our GNOME Shell Extensions and Extension Manager guides a read. You will have to install either one of those if you want to set up Tiling Shell without going the manual way.
If you were seeking the source code, or instructions on how to install it manually, then you should visit the project's GitHub repo.
💬 Know of any other cool extensions for GNOME? Feel free to add them below!
Suggested Read 📖
Stay updated with relevant Linux news, discover new open source apps, follow distro releases and read opinions