

Brief: Ksnip is a lightweight cross-platform, open-source screenshot tool that provides many annotation features for screenshots. Here, we take a look at its latest 1.8.0 release.
Taking screenshots in Linux is a pretty straightforward process and comes in handy for a variety of tasks. There are plenty of screenshot taking tools available for Linux users.
Powerful screenshot utilities like Flameshot come with many features that help users to capture the screen. On the other hand, Ksnip is a screenshot utility that has been around for some time now, which received a major update recently.
Ksnip: An Open-Source Screenshot Utility
ksnip is a Qt-based cross-platform, open-source screenshot tool that has recently been updated to a stable version packed with exciting new features.
Along with the key changes, I will briefly introduce the tool and how you can use it.
With this new release v1.8.0, Ksnip works on Linux X11, KDE Wayland, and Gnome Wayland. It is also available for Windows and macOS.
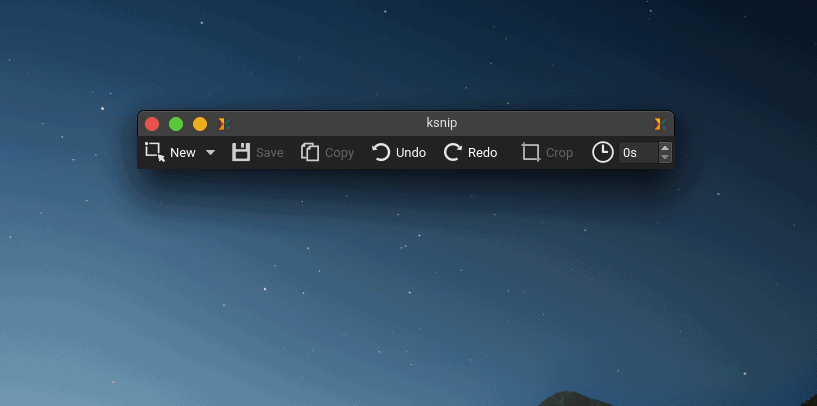
The application starts with a minimal menu-bar style interface which can be minimized to the system tray. It comes with a built-in editor where the users can use various annotation tools.
Not just limited to that, the screenshots can be directly uploaded to image sharing websites like Imgur as well.
Ksnip also provides an option to add watermark or custom stickers to the captured screenshot.
Taking screenshots with Ksnip
It is straightforward to take a screenshot using Ksnip. You just need to launch it from the application menu or the terminal, then click on the Ksnip icon on the system tray area.
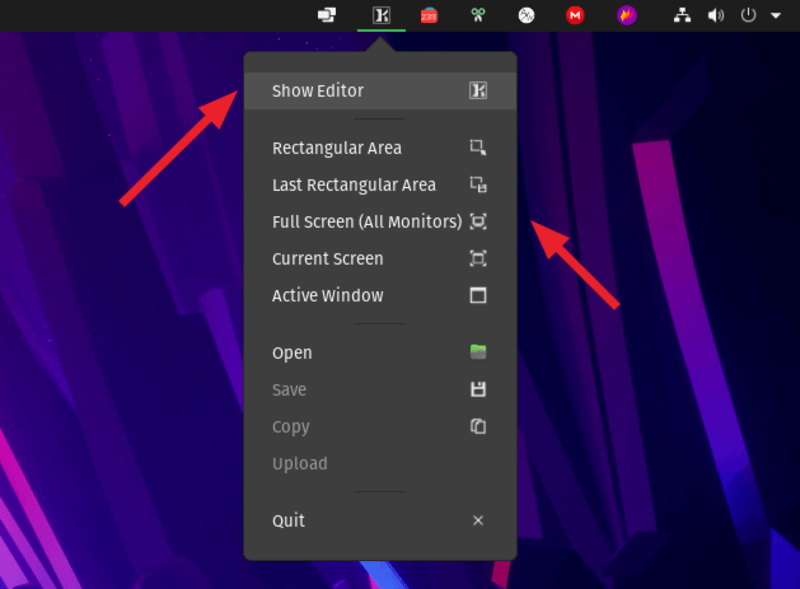
If you click on “Show editor“, then you need to select the New option from the toolbar to get started taking a screenshot.
Releasing the mouse button will open the Ksnip screenshot editor. The selection can be resized later if the Ctrl key is pressed down while selecting.
There are four other screenshot options excluding the rectangular selection tool. Options such as taking a screenshot of Full Screen, Last Rectangular Area, Current Screen, and Active window can be accessed using the drop-down button in the toolbar or by using hotkeys.
The Full-Screen mode enables users to capture screenshots from all connected monitors. To capture a Full-Screen screenshot from a single monitor select the Current Screen option. The Last Rectangular Area captures a screenshot from the previous selection of the user.
The Screenshot Editor
Ksnip comes with an inbuilt image manipulation tool that contains several useful tools and has a simple user interface.
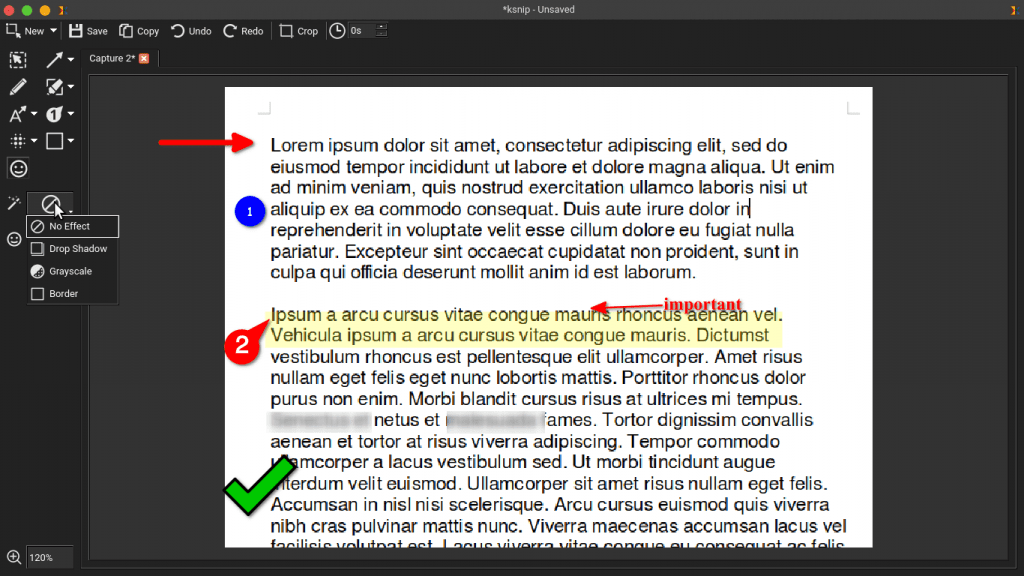
Additional tools can be accessed from drop-down buttons and by using the toolbar. Ksnip annotation tools include:
- Selection tool
- Pen
- Arrow (Double, Line)
- Marker (Rectangle, Ellipse, Pen marker)
- Text (Text pointer, Text arrow)
- Number (Number pointer, Number arrow)
- Blur
- Pixelate
- Drawing tools (Rectangle, Ellipse)
- Sticker
In addition to these, there are three effect options which include Drop Shadow, Grey Scale, and Border effect. Users can also change the line color, line width, font color, font width, and border fill.
The Obfuscation tools, Blur, and Pixelate can be adjusted to hide any sensitive information from the captured image.
The settings menu provides customization options. The save quality can be defined by the user under the Saver option in the settings tab. Image upload options can also be accessed from the settings.
To add custom stickers go to Settings > Annotator > Stickers and click the Add button to import custom .svg files.
Installing Ksnip on Linux
Ksnip is available in the Snap store and as a Flatpak package as well. Snap store provides two versions, the stable v1.8.0 and edge version 1.8.1. Install the stable latest/stable version by using the command below:
sudo snap install ksnipInstall the latest/edge version from Snap store using the following command:
sudo snap install ksnip --edgeMake sure you enable snap before you try installing it. In addition to the snap package, you can also opt for the Flatpak package.
I’d suggest you to read our guide to use Flatpak on Linux.
You can install the Ksnip from Flathub using your software center or by using the following command:
flatpak install flathub org.ksnip.knsipTo run Ksnip, you can directly launch it from the application menu or use the terminal with the following command:
flatpak run org.ksnip.ksnipAppImage, DEB, RPM, and other packages can be downloaded from Ksnip’s official Github repository.
If you are building from source, you need to install kImageAnnotator and kColorPicker as dependencies.
Major Changes in Knsip 1.8.0
- Pin Screenshots in frameless windows that stay in the foreground.
- Support for unit tests.
- Allow setting image quality when saving images.
- Support for cross-platform Wayland screenshots using xdg-desktop-portal.
- Add support for loading image from stdin.
- Upload screenshots directly to imgur.com in anonymous or user mode.
- Option to keep the main window hidden after a taking screenshot.
For the detailed list of changes, you may refer to the official changelog.
Final Thoughts
Ksnip is an excellent tool for taking screenshots. Having a fair amount of additional tools for image manipulation is definitely useful for my usage.
I’m impressed with its lightweight and user-friendly UI, and the number of features it possesses. The support for a system tray icon makes it easier to access and less interfering with the workspace.
The team behind Ksnip is very much active in this project and is currently working on a newer release. I hope that the newer version will be released soon, and we shall keep you updated on that.
If you already use Ksnip, What are your thoughts on this tool?
Let me know in the comments section below. And don’t forget to share this article with your friends if you found it useful.
- Even the biggest players in the Linux world don't care about desktop Linux users. We do.
- We don't put informational content behind paywall. Your support keeps it open for everyone. Think of it like 'pay it forward'.
- Don't like ads? With the Plus membership, you get an ad-free reading experience.
- When millions of AI-generated content is being published daily, you read and learn from real human Linux users.
- It costs just $2 a month, less than the cost of your favorite burger.
Become a Plus Member today and join over 300 people in supporting our work.


